parenting
Share
DIY your own trick-or-treat bag (using an old pillowcase!)
Published 12:51 9 Oct 2015 BST
Updated 21:25 8 Jun 2016 BST
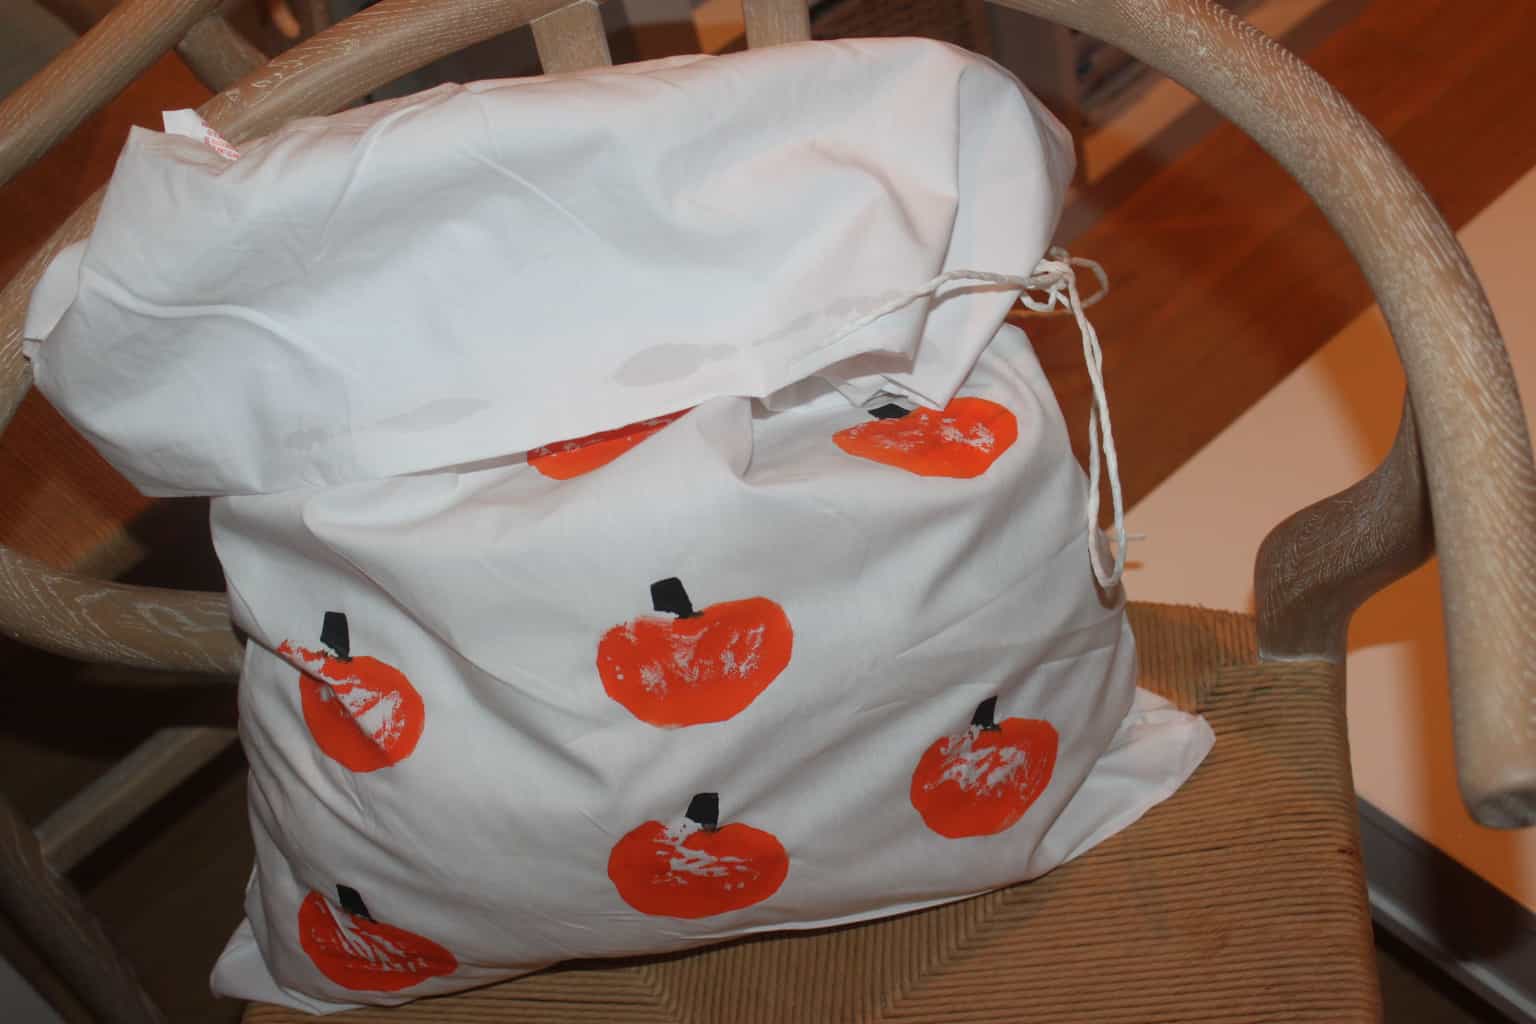 Add us as a preferred source on Google »
Yeah, yeah, we know you can buy plastic buckets ready-made for tricking and treating for next to nothing in Tesco or the Euro-shop. But how about setting aside half an hour one afternoon and DIY your own with the kids?
Seriously,it could not be easier. Or more fun for your littles. All you need is this:
An old white pillowcase (or new ones, I got a 2-pack in Penneys for €5)
Some paint in your chosen colour (orange is a winner this time a year)
1 large potato
Some string
Glue
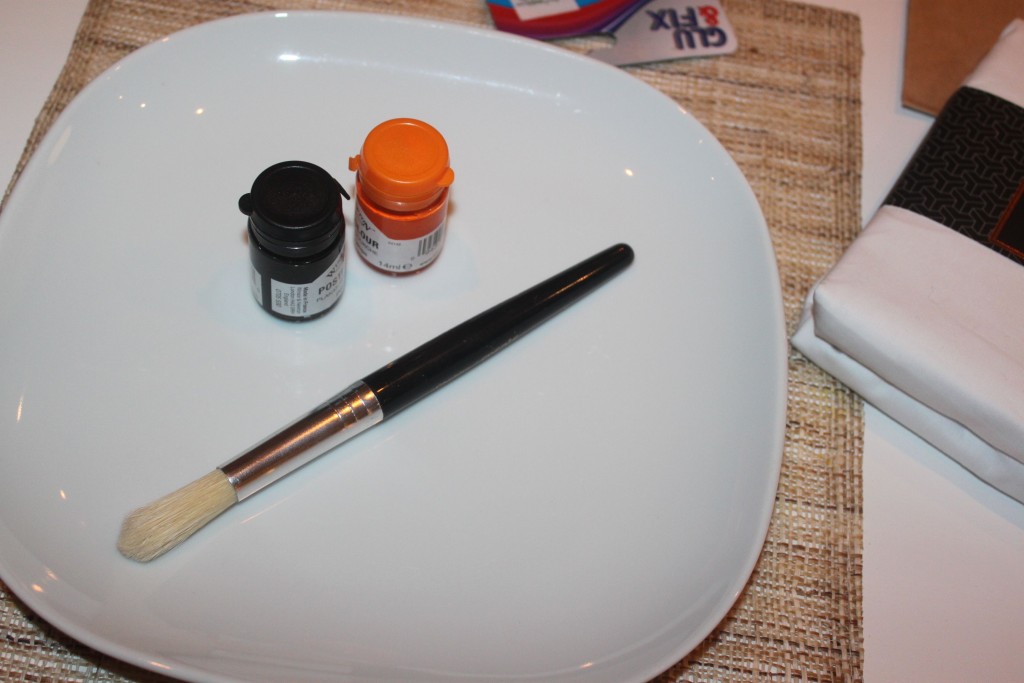 You probably did this a few times back in your school day, and the good news is that potato stamping is still as easy as ever.
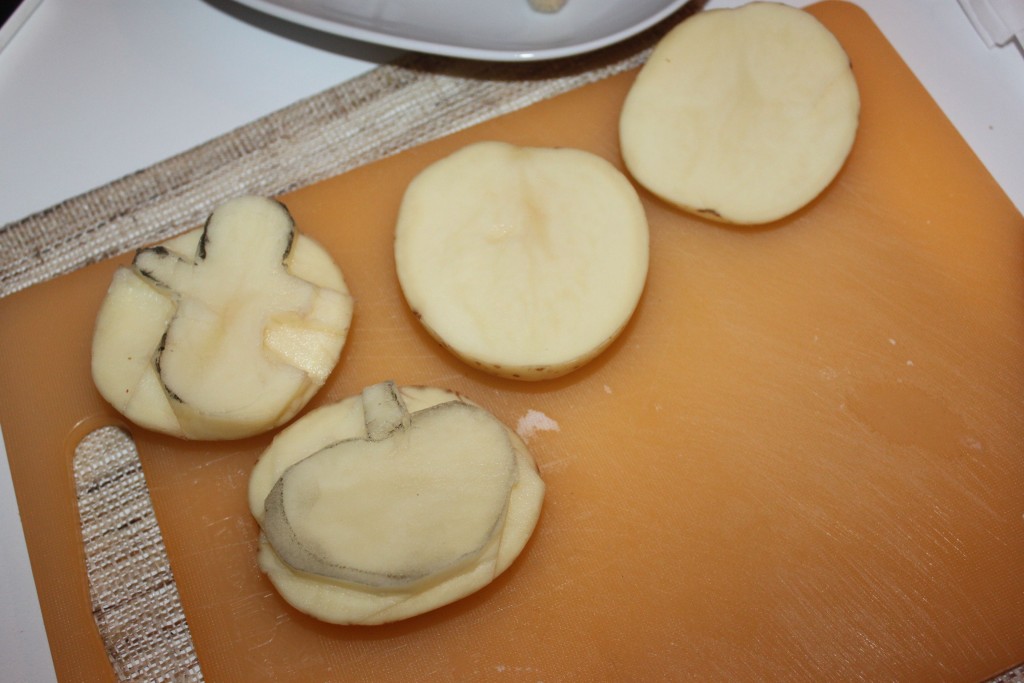
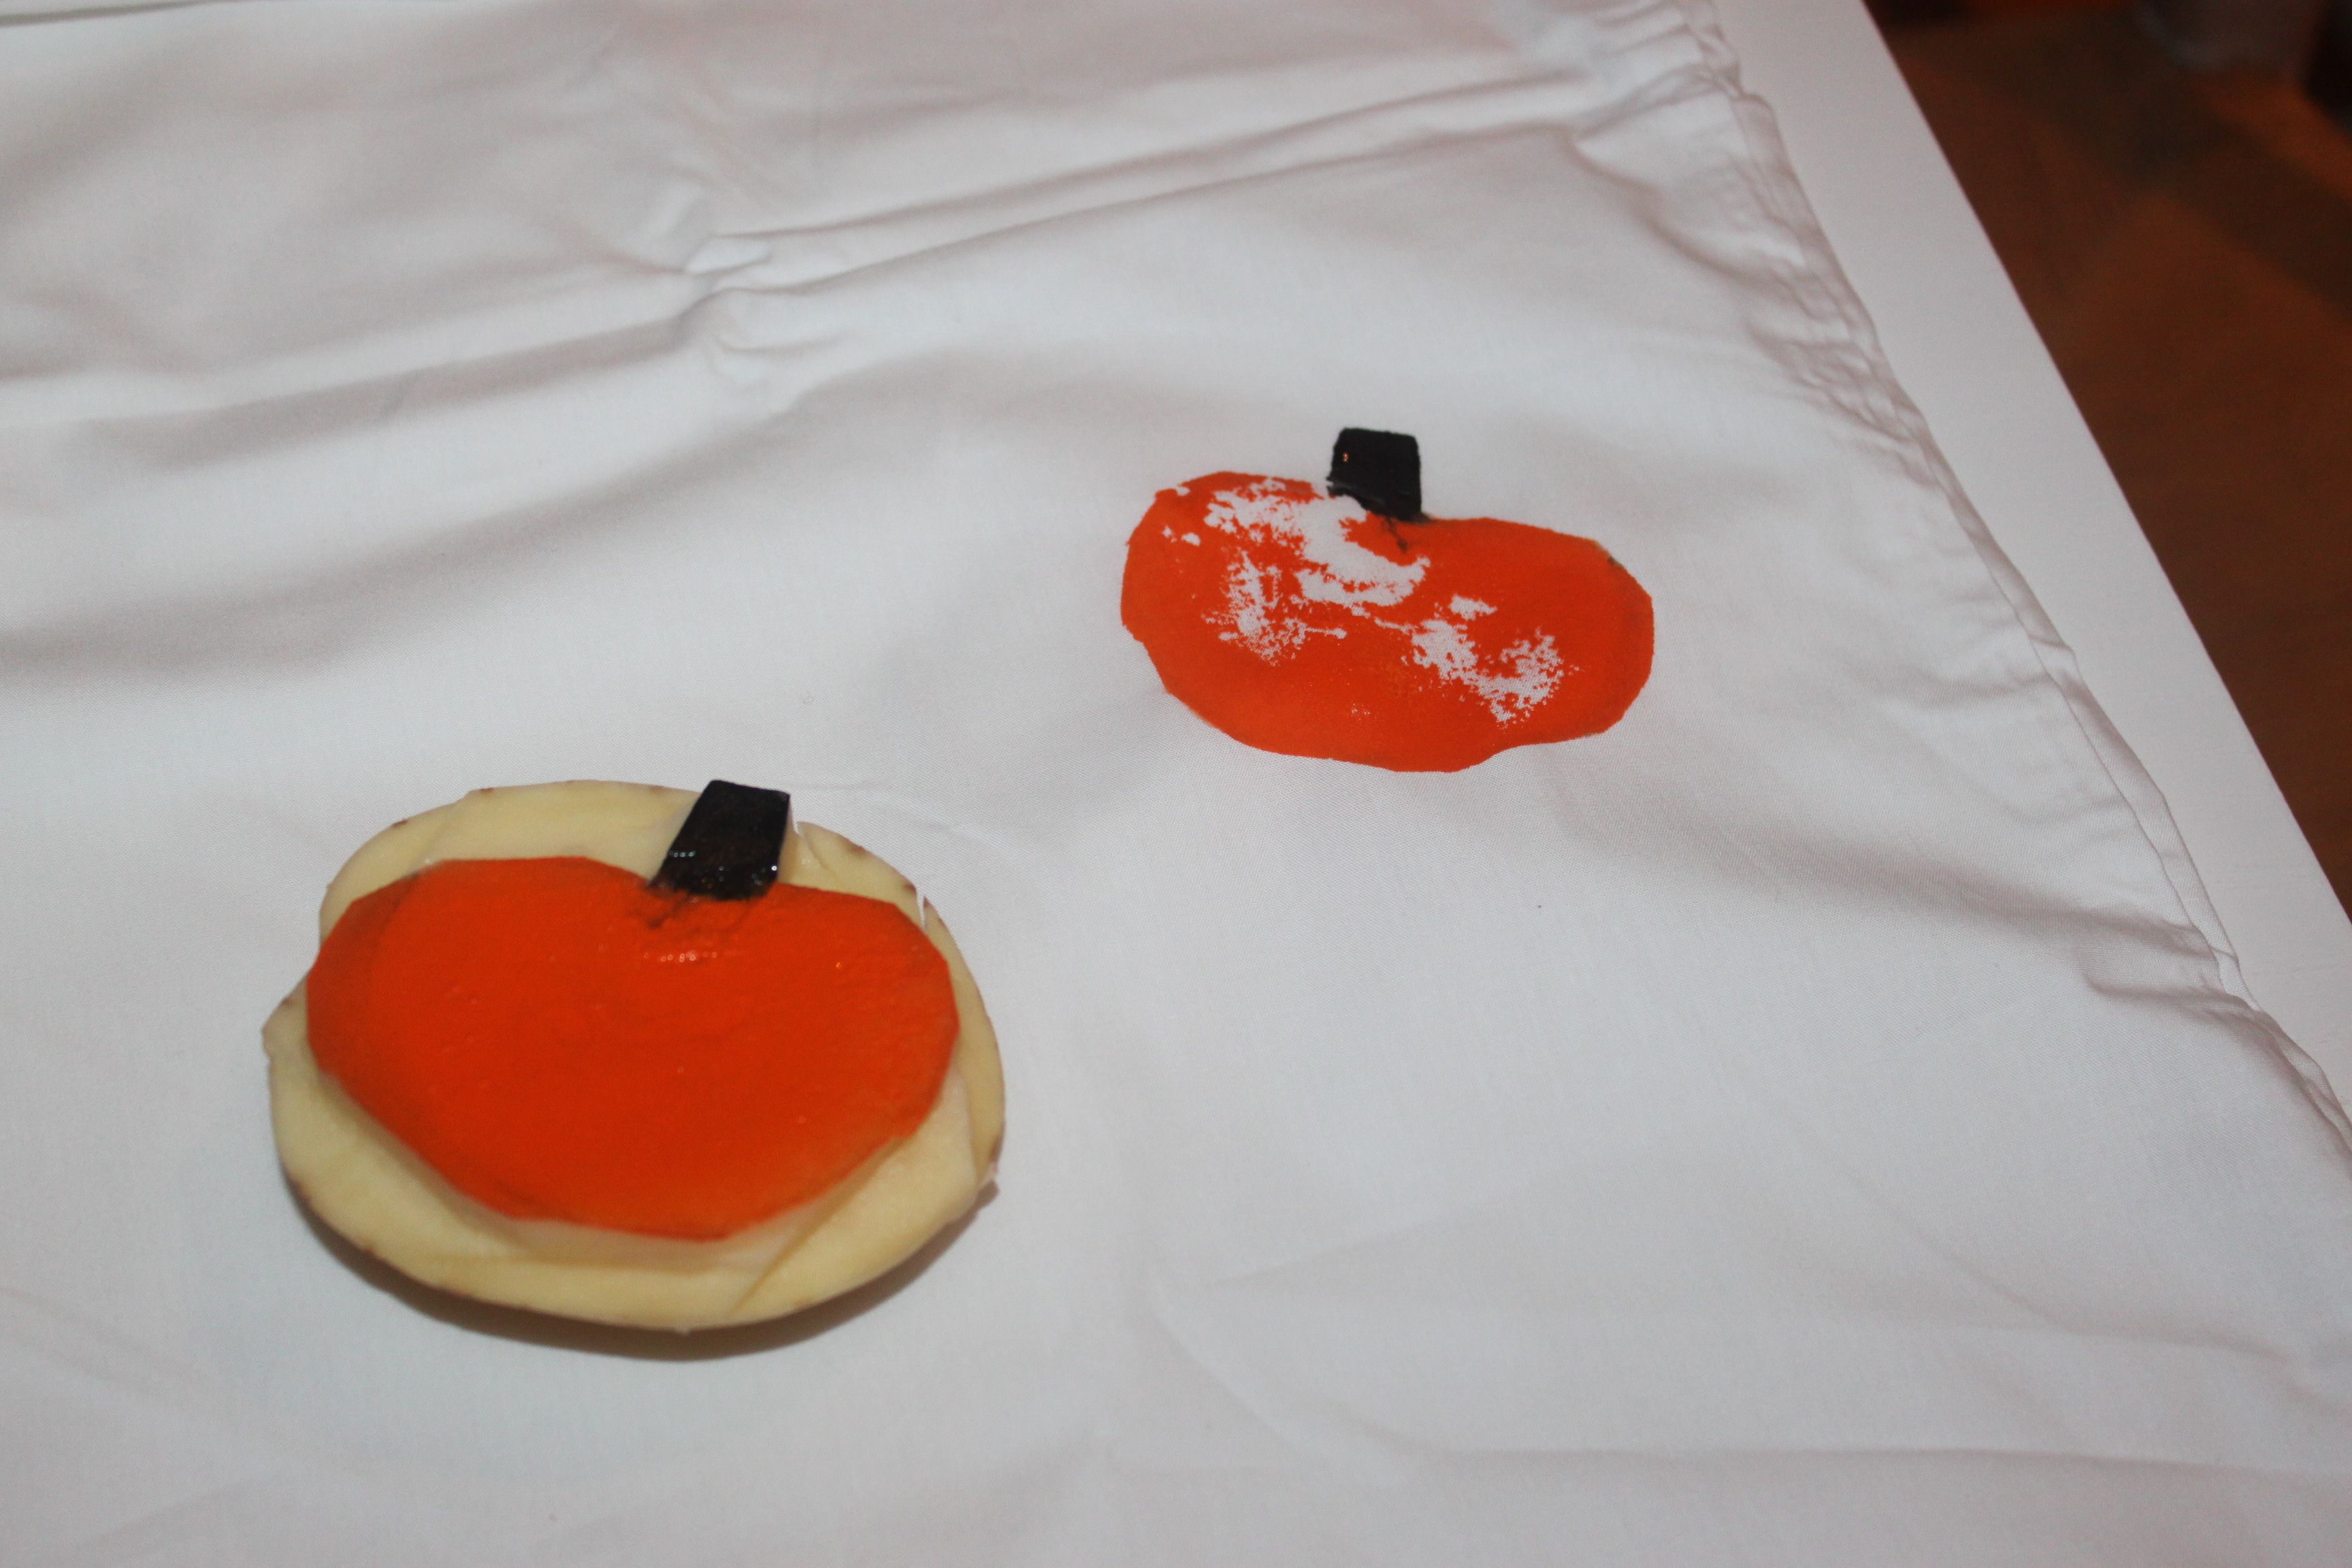
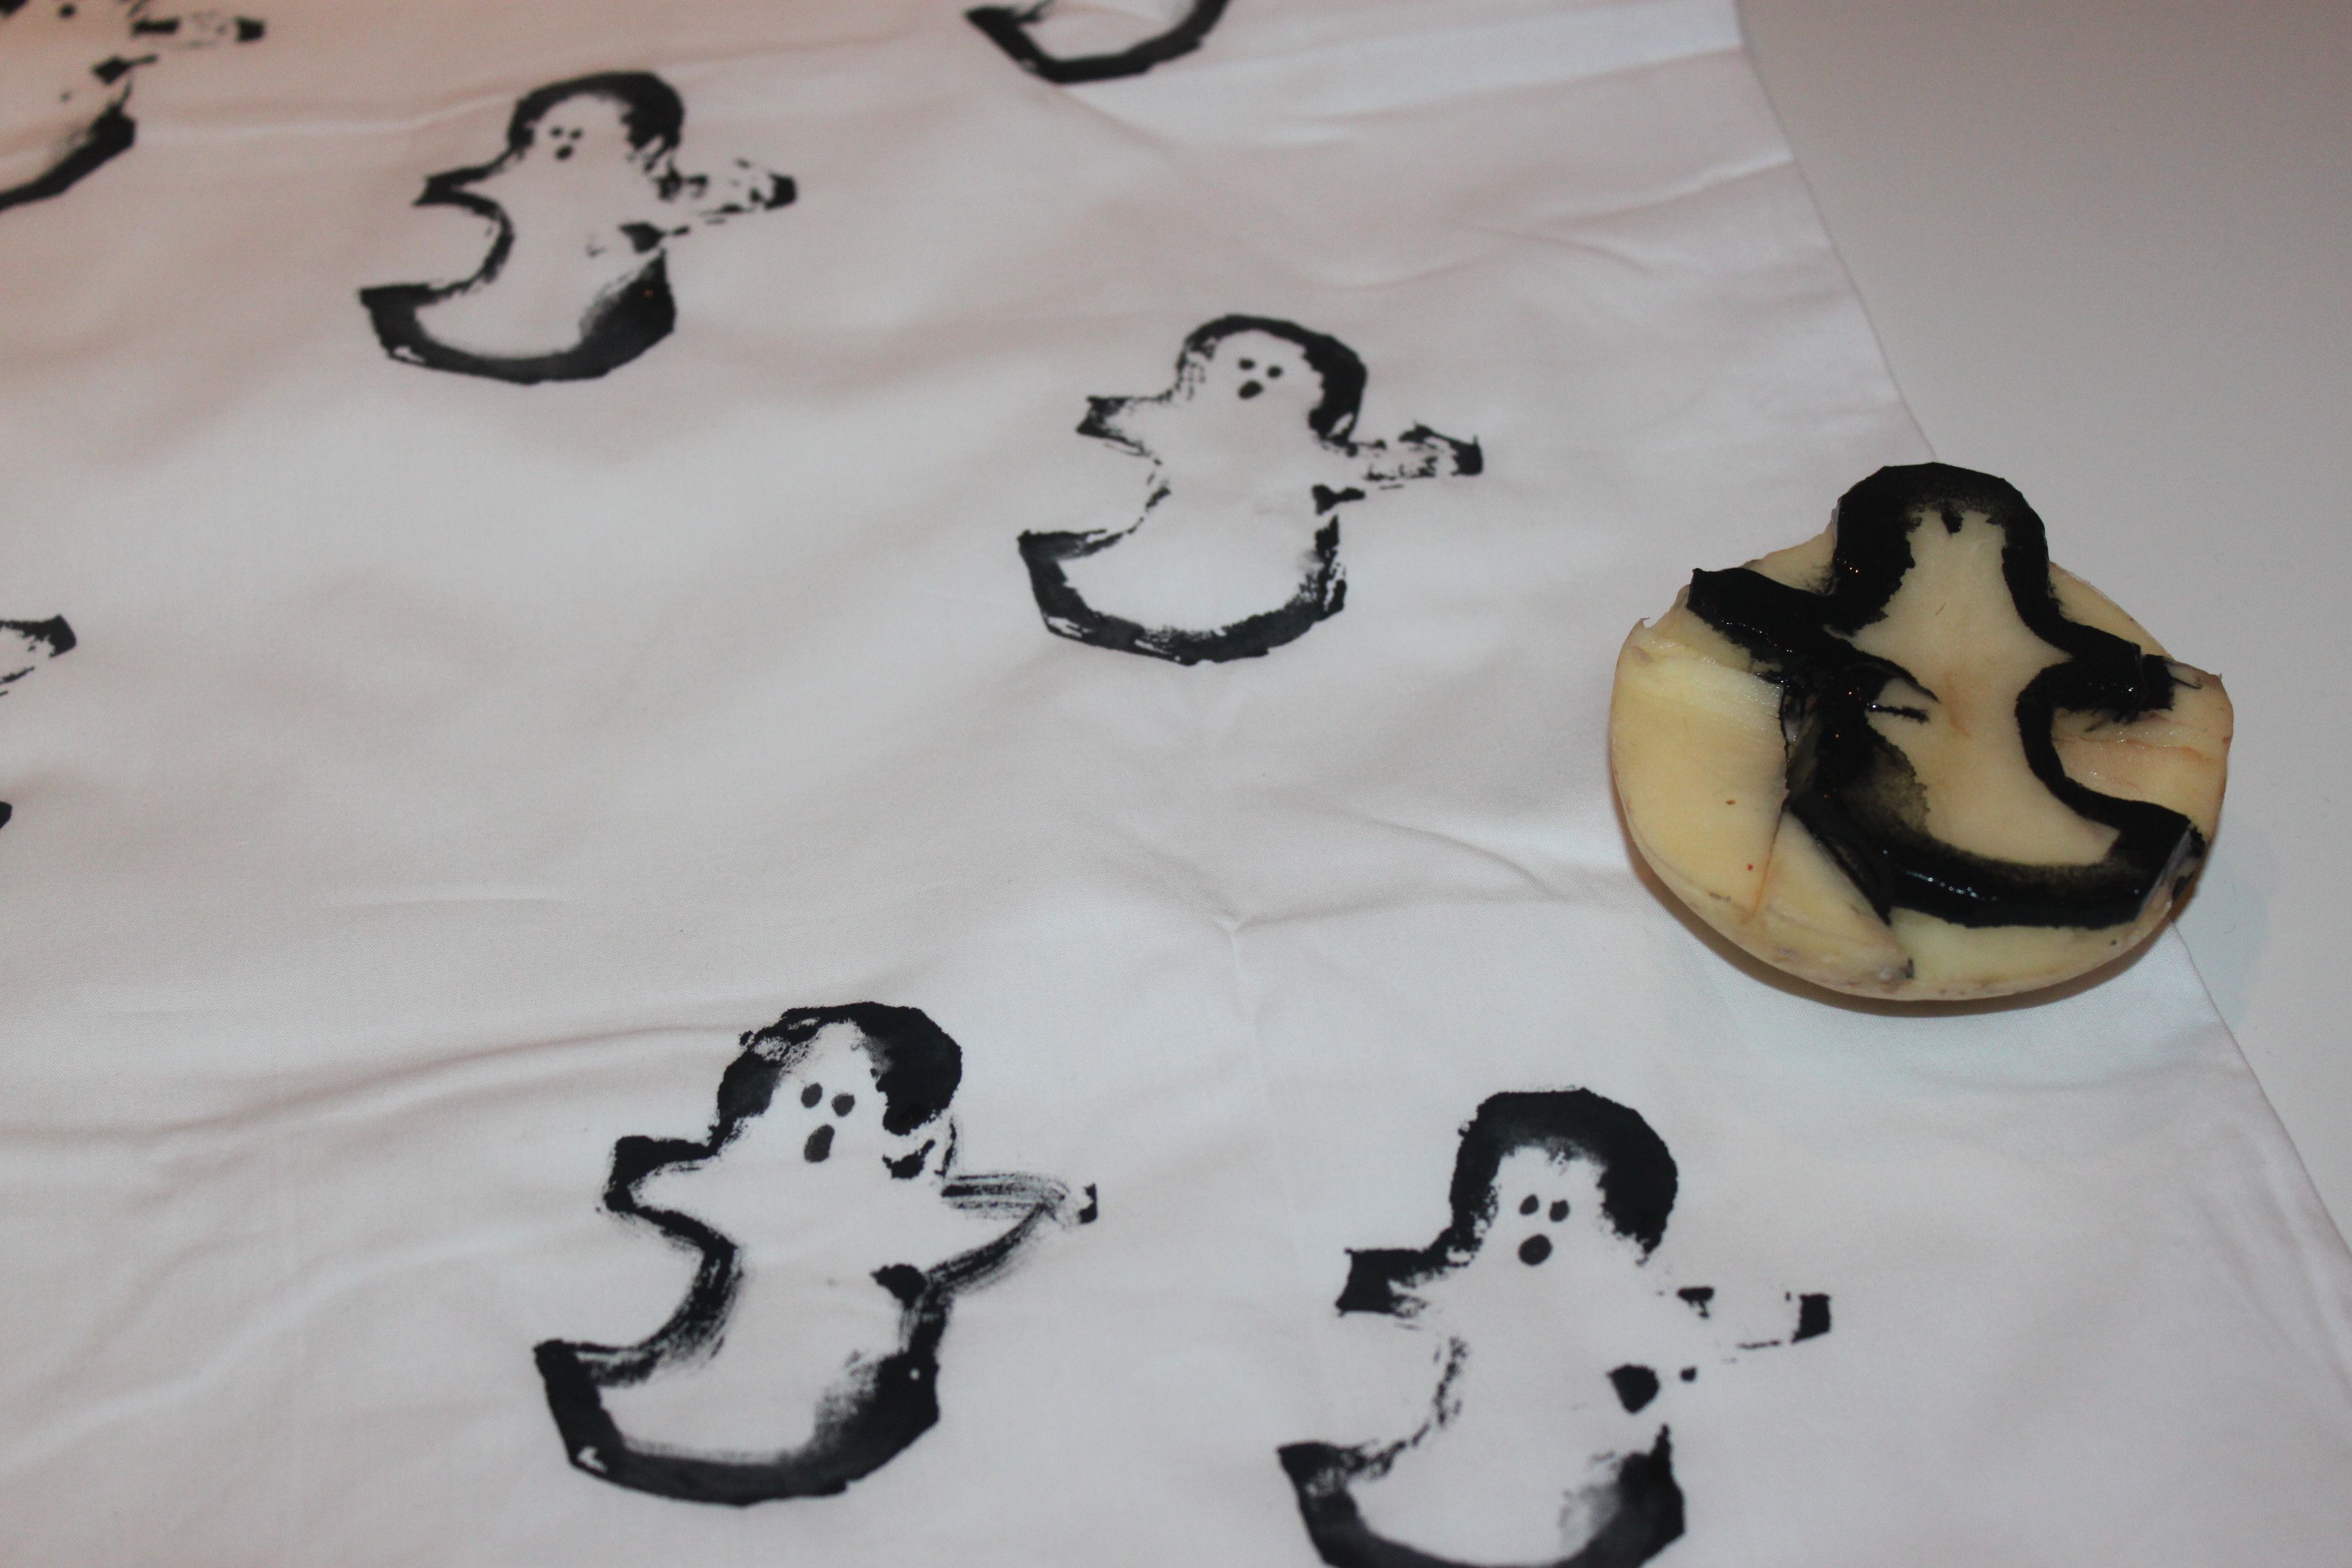
All you need to do is find what you want to stamp (we went for ghosts and pumpkins, dah!), draw the shape onto the potato, cut around the shape, and voila; you are good to go. (Note: It might be better to leave the knife yielding to adults only, and let the kids go to town when it comes to the paint part instead!)
You probably did this a few times back in your school day, and the good news is that potato stamping is still as easy as ever.
All you need to do is find what you want to stamp (we went for ghosts and pumpkins, dah!), draw the shape onto the potato, cut around the shape, and voila; you are good to go. (Note: It might be better to leave the knife yielding to adults only, and let the kids go to town when it comes to the paint part instead!)
 Put you pillowcase onto a flat (covered!) surface. Put paint onto your potato halves and stamp away to your heart's content.
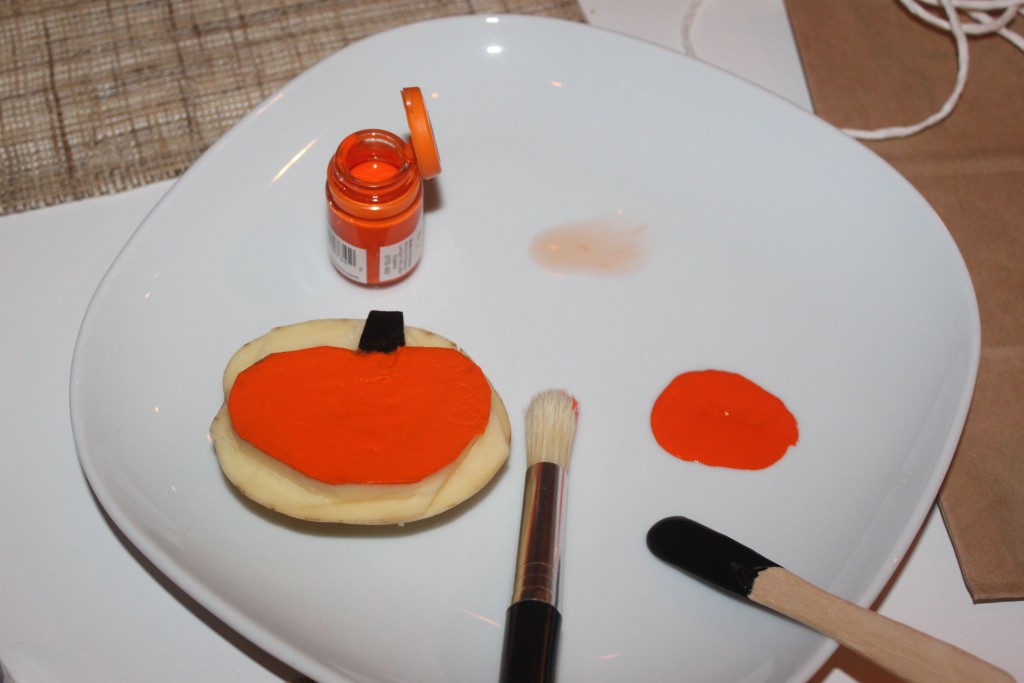
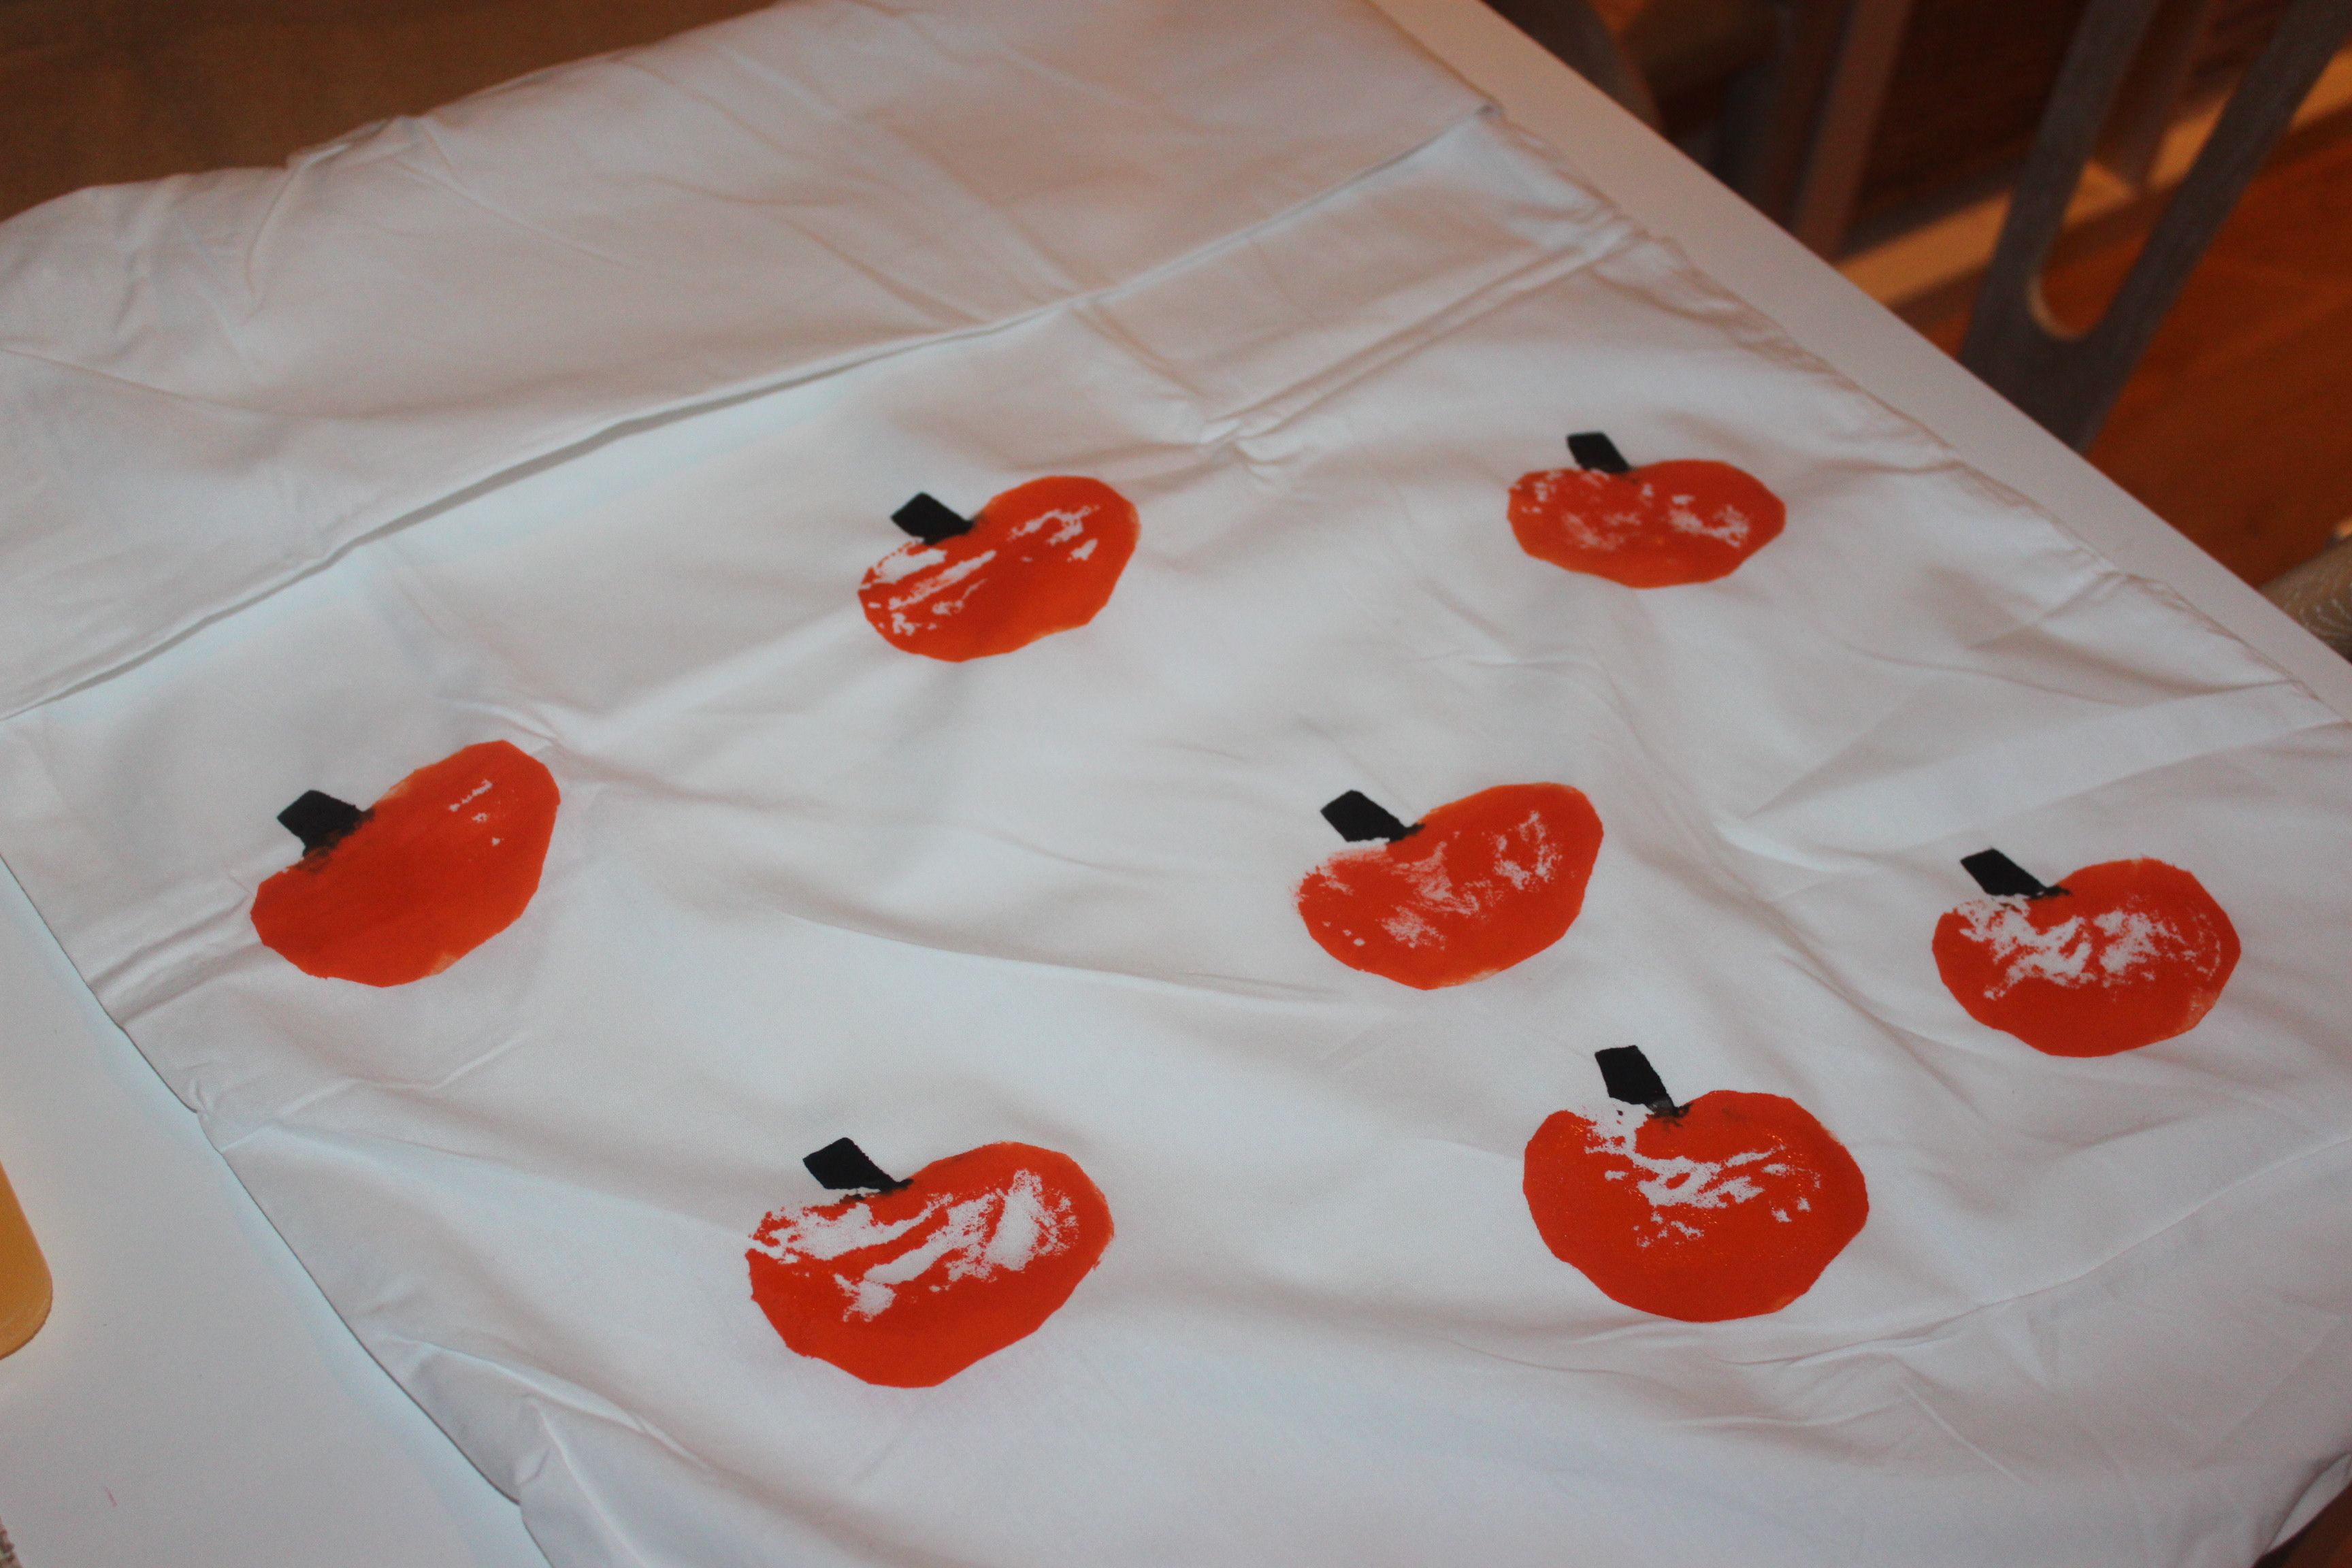
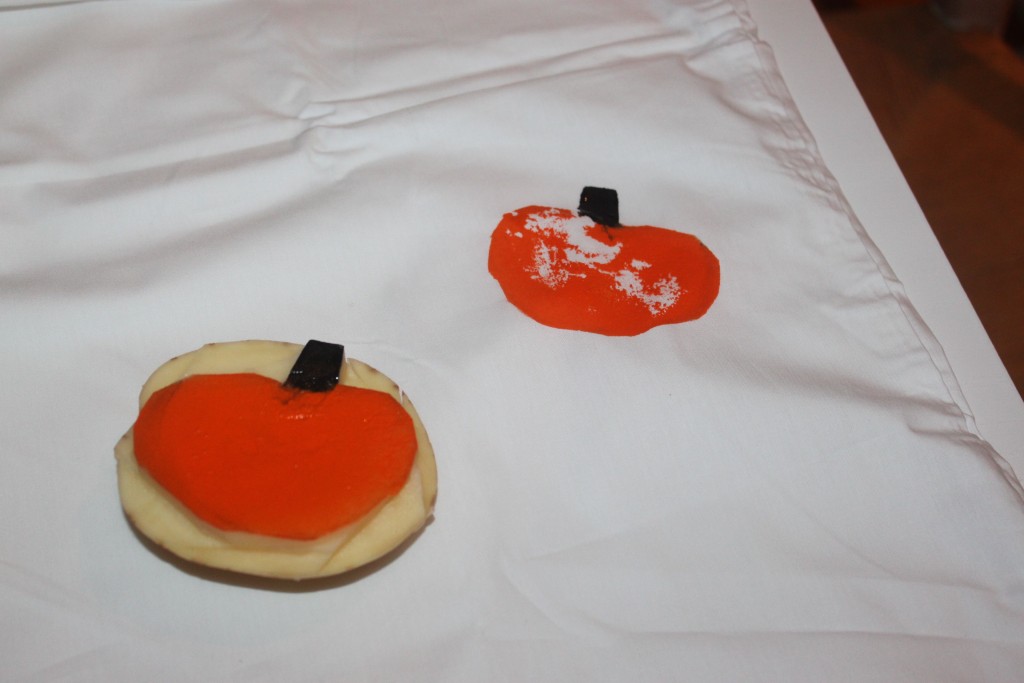 Keep adding as many shapes as you would like onto your custom made trick-or-treat bag (you might have to reign in some over-eager kids at this bit).
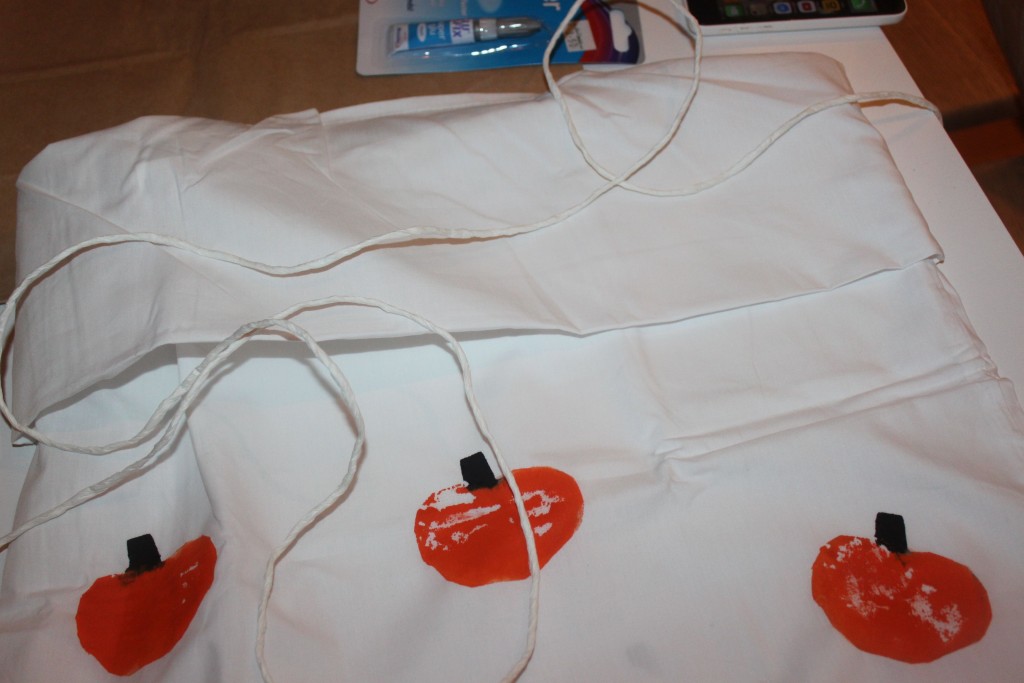
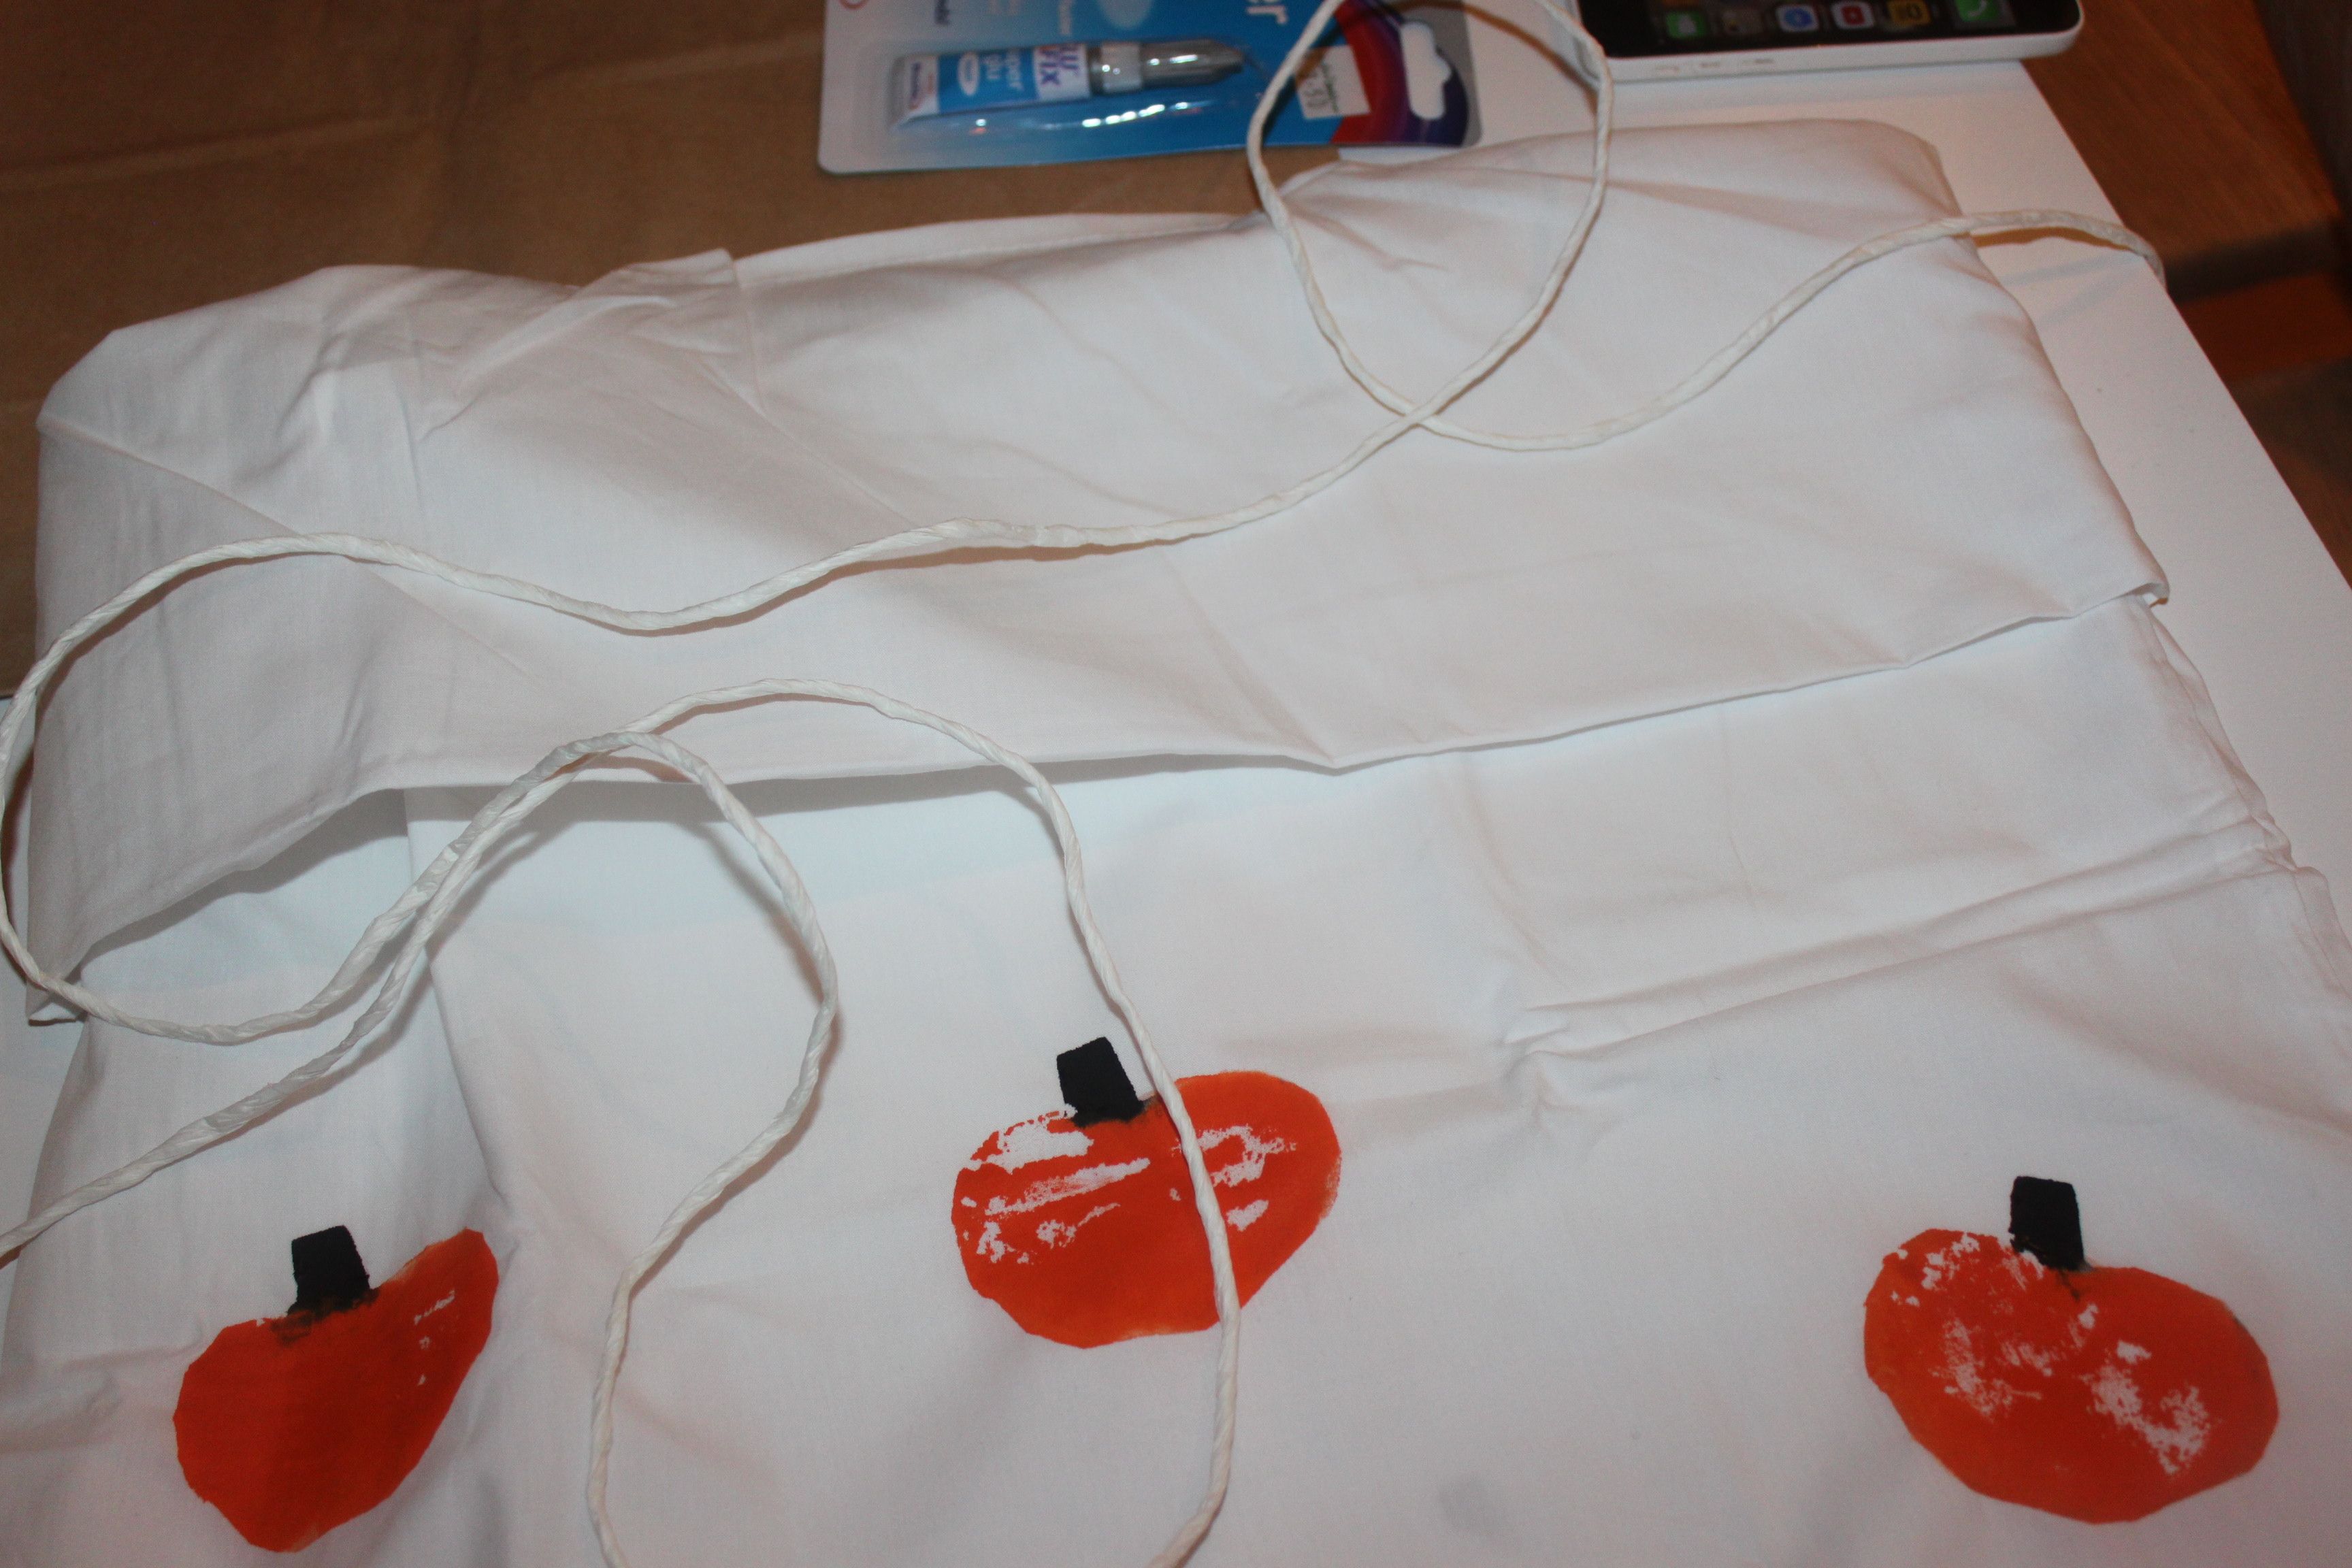
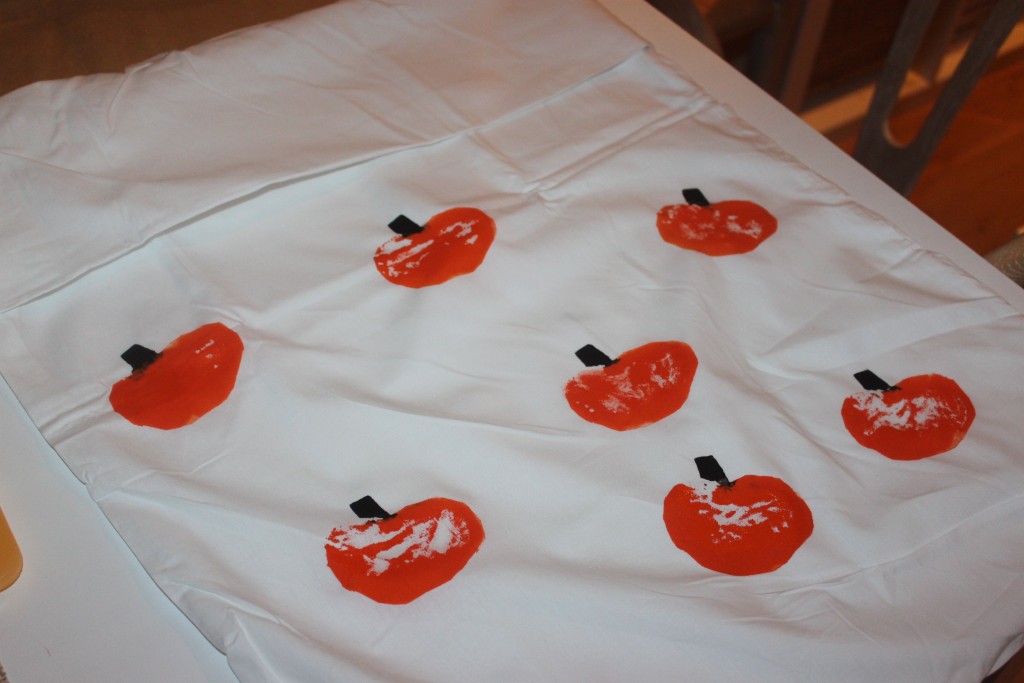 When the paint is somewhat dry, fold the top of the pillowcase over and glue, so that you have created room at the top of your "bag" where you can thread your string in. Cut a small hole in one corner and thread your string all the way through, so that you are left with two ends out that you can tighten and close the bag.
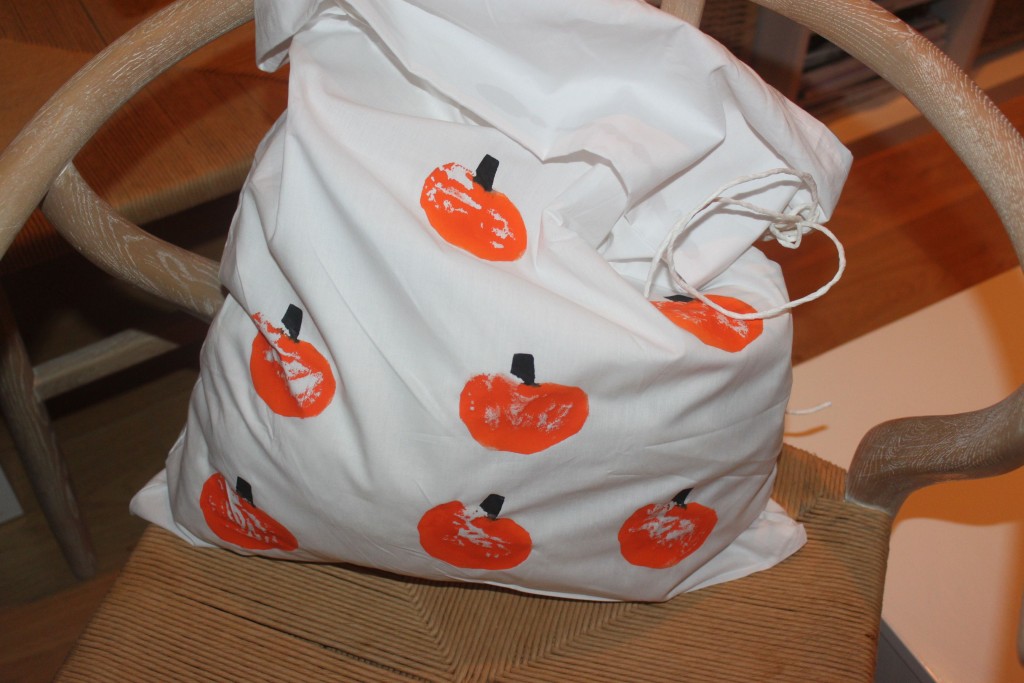
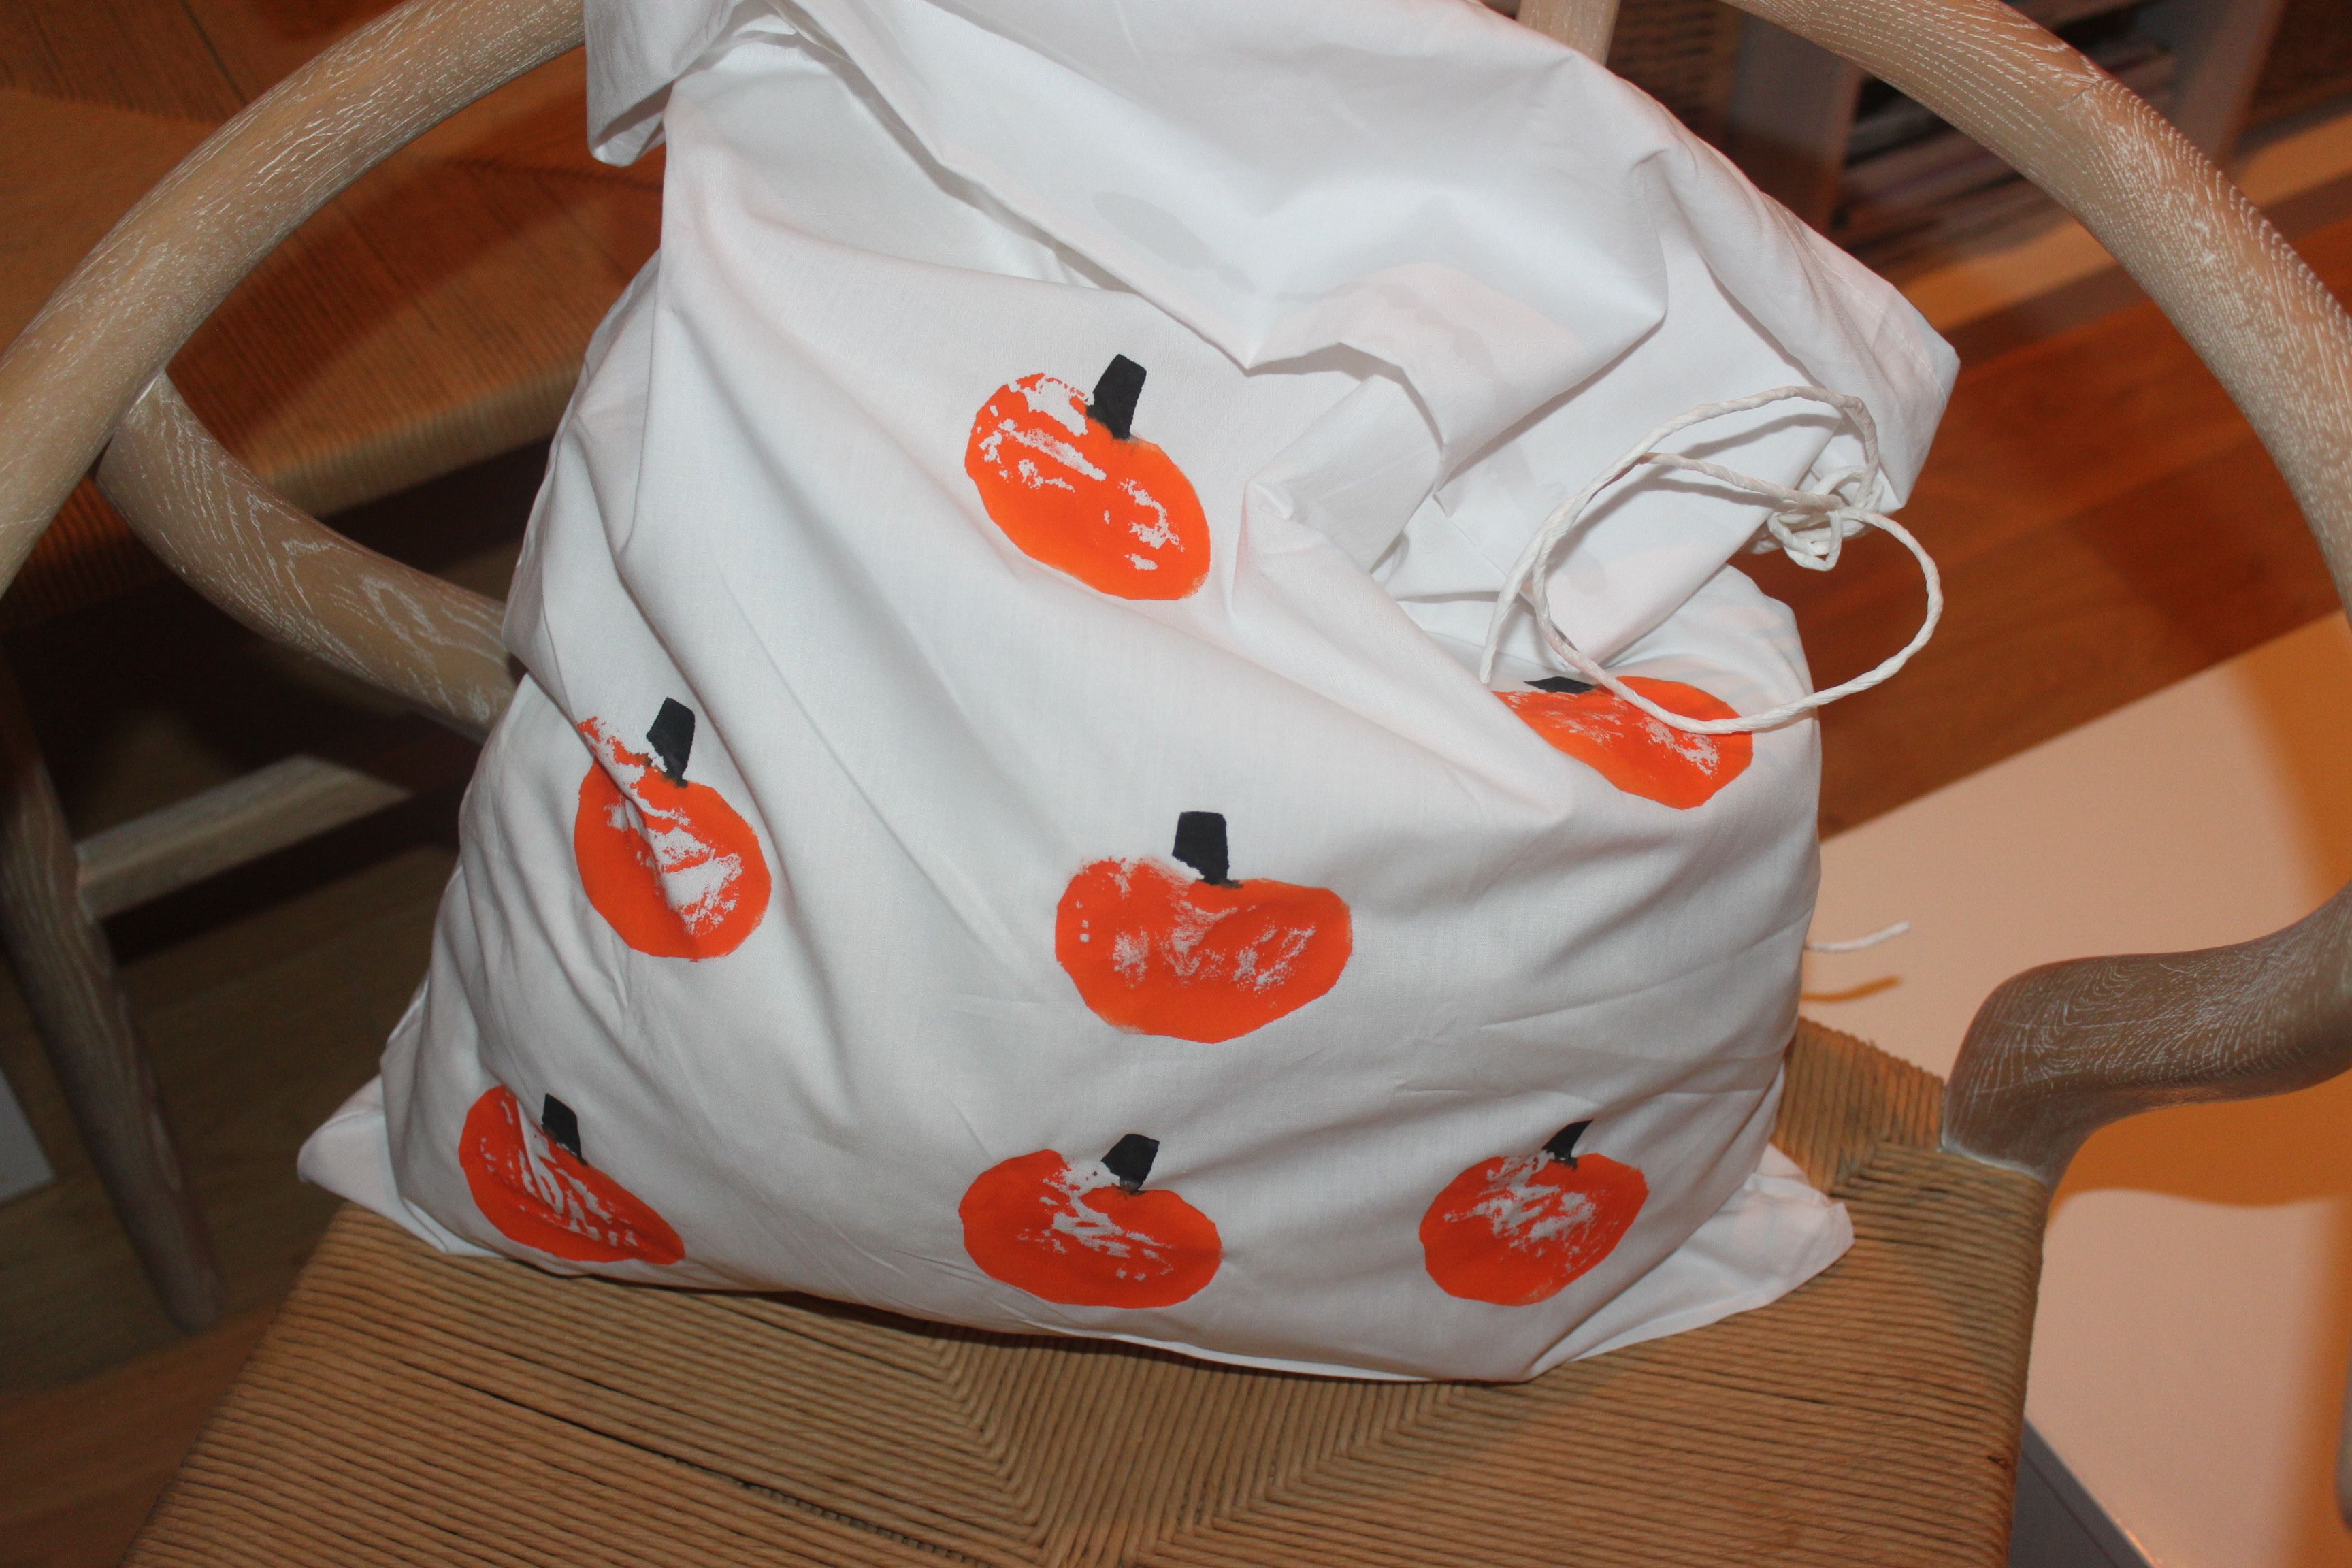
 Now all that is left to do is wait for Halloween night and trick-or-treat time! That; and trying to chose between our pumpkin or ghost design for the night, that is. Decisions!
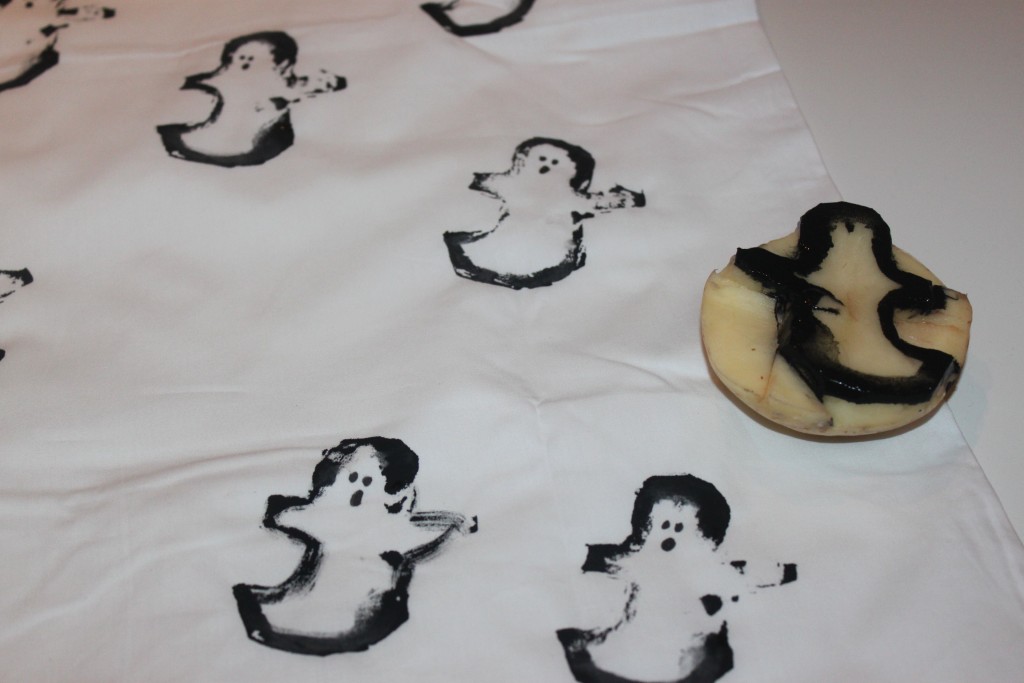
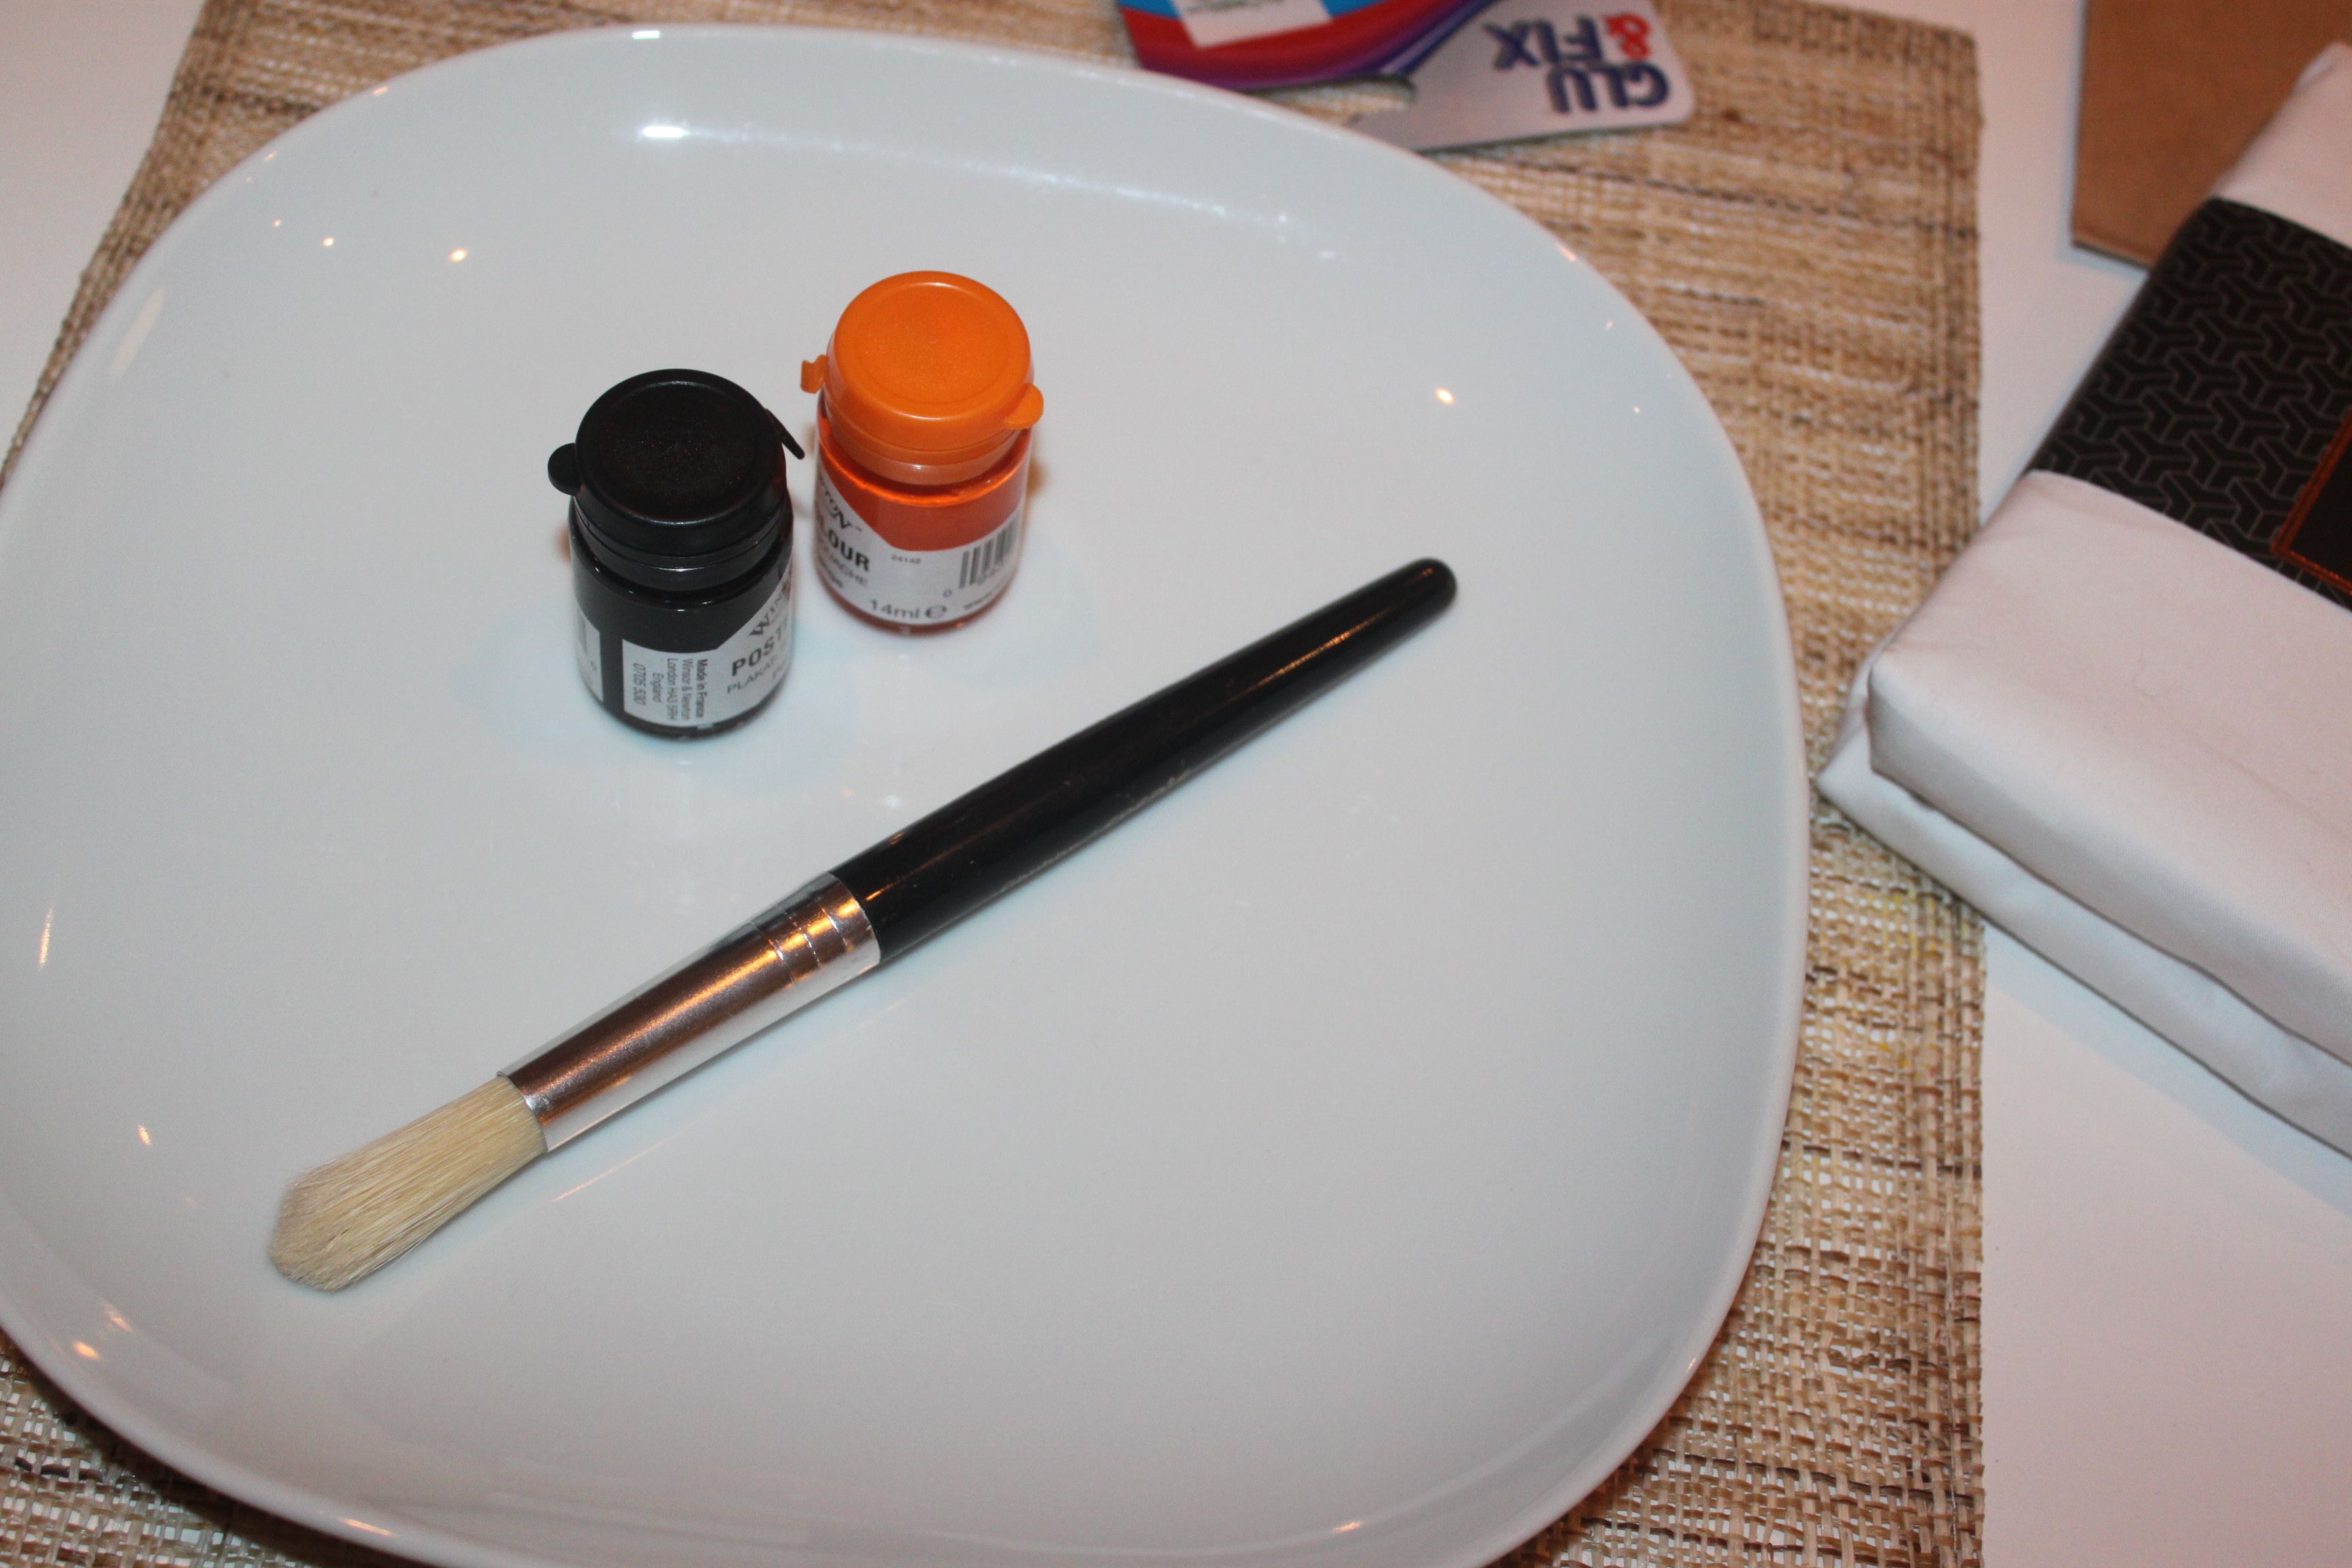 You probably did this a few times back in your school day, and the good news is that potato stamping is still as easy as ever.
All you need to do is find what you want to stamp (we went for ghosts and pumpkins, dah!), draw the shape onto the potato, cut around the shape, and voila; you are good to go. (Note: It might be better to leave the knife yielding to adults only, and let the kids go to town when it comes to the paint part instead!)
You probably did this a few times back in your school day, and the good news is that potato stamping is still as easy as ever.
All you need to do is find what you want to stamp (we went for ghosts and pumpkins, dah!), draw the shape onto the potato, cut around the shape, and voila; you are good to go. (Note: It might be better to leave the knife yielding to adults only, and let the kids go to town when it comes to the paint part instead!)
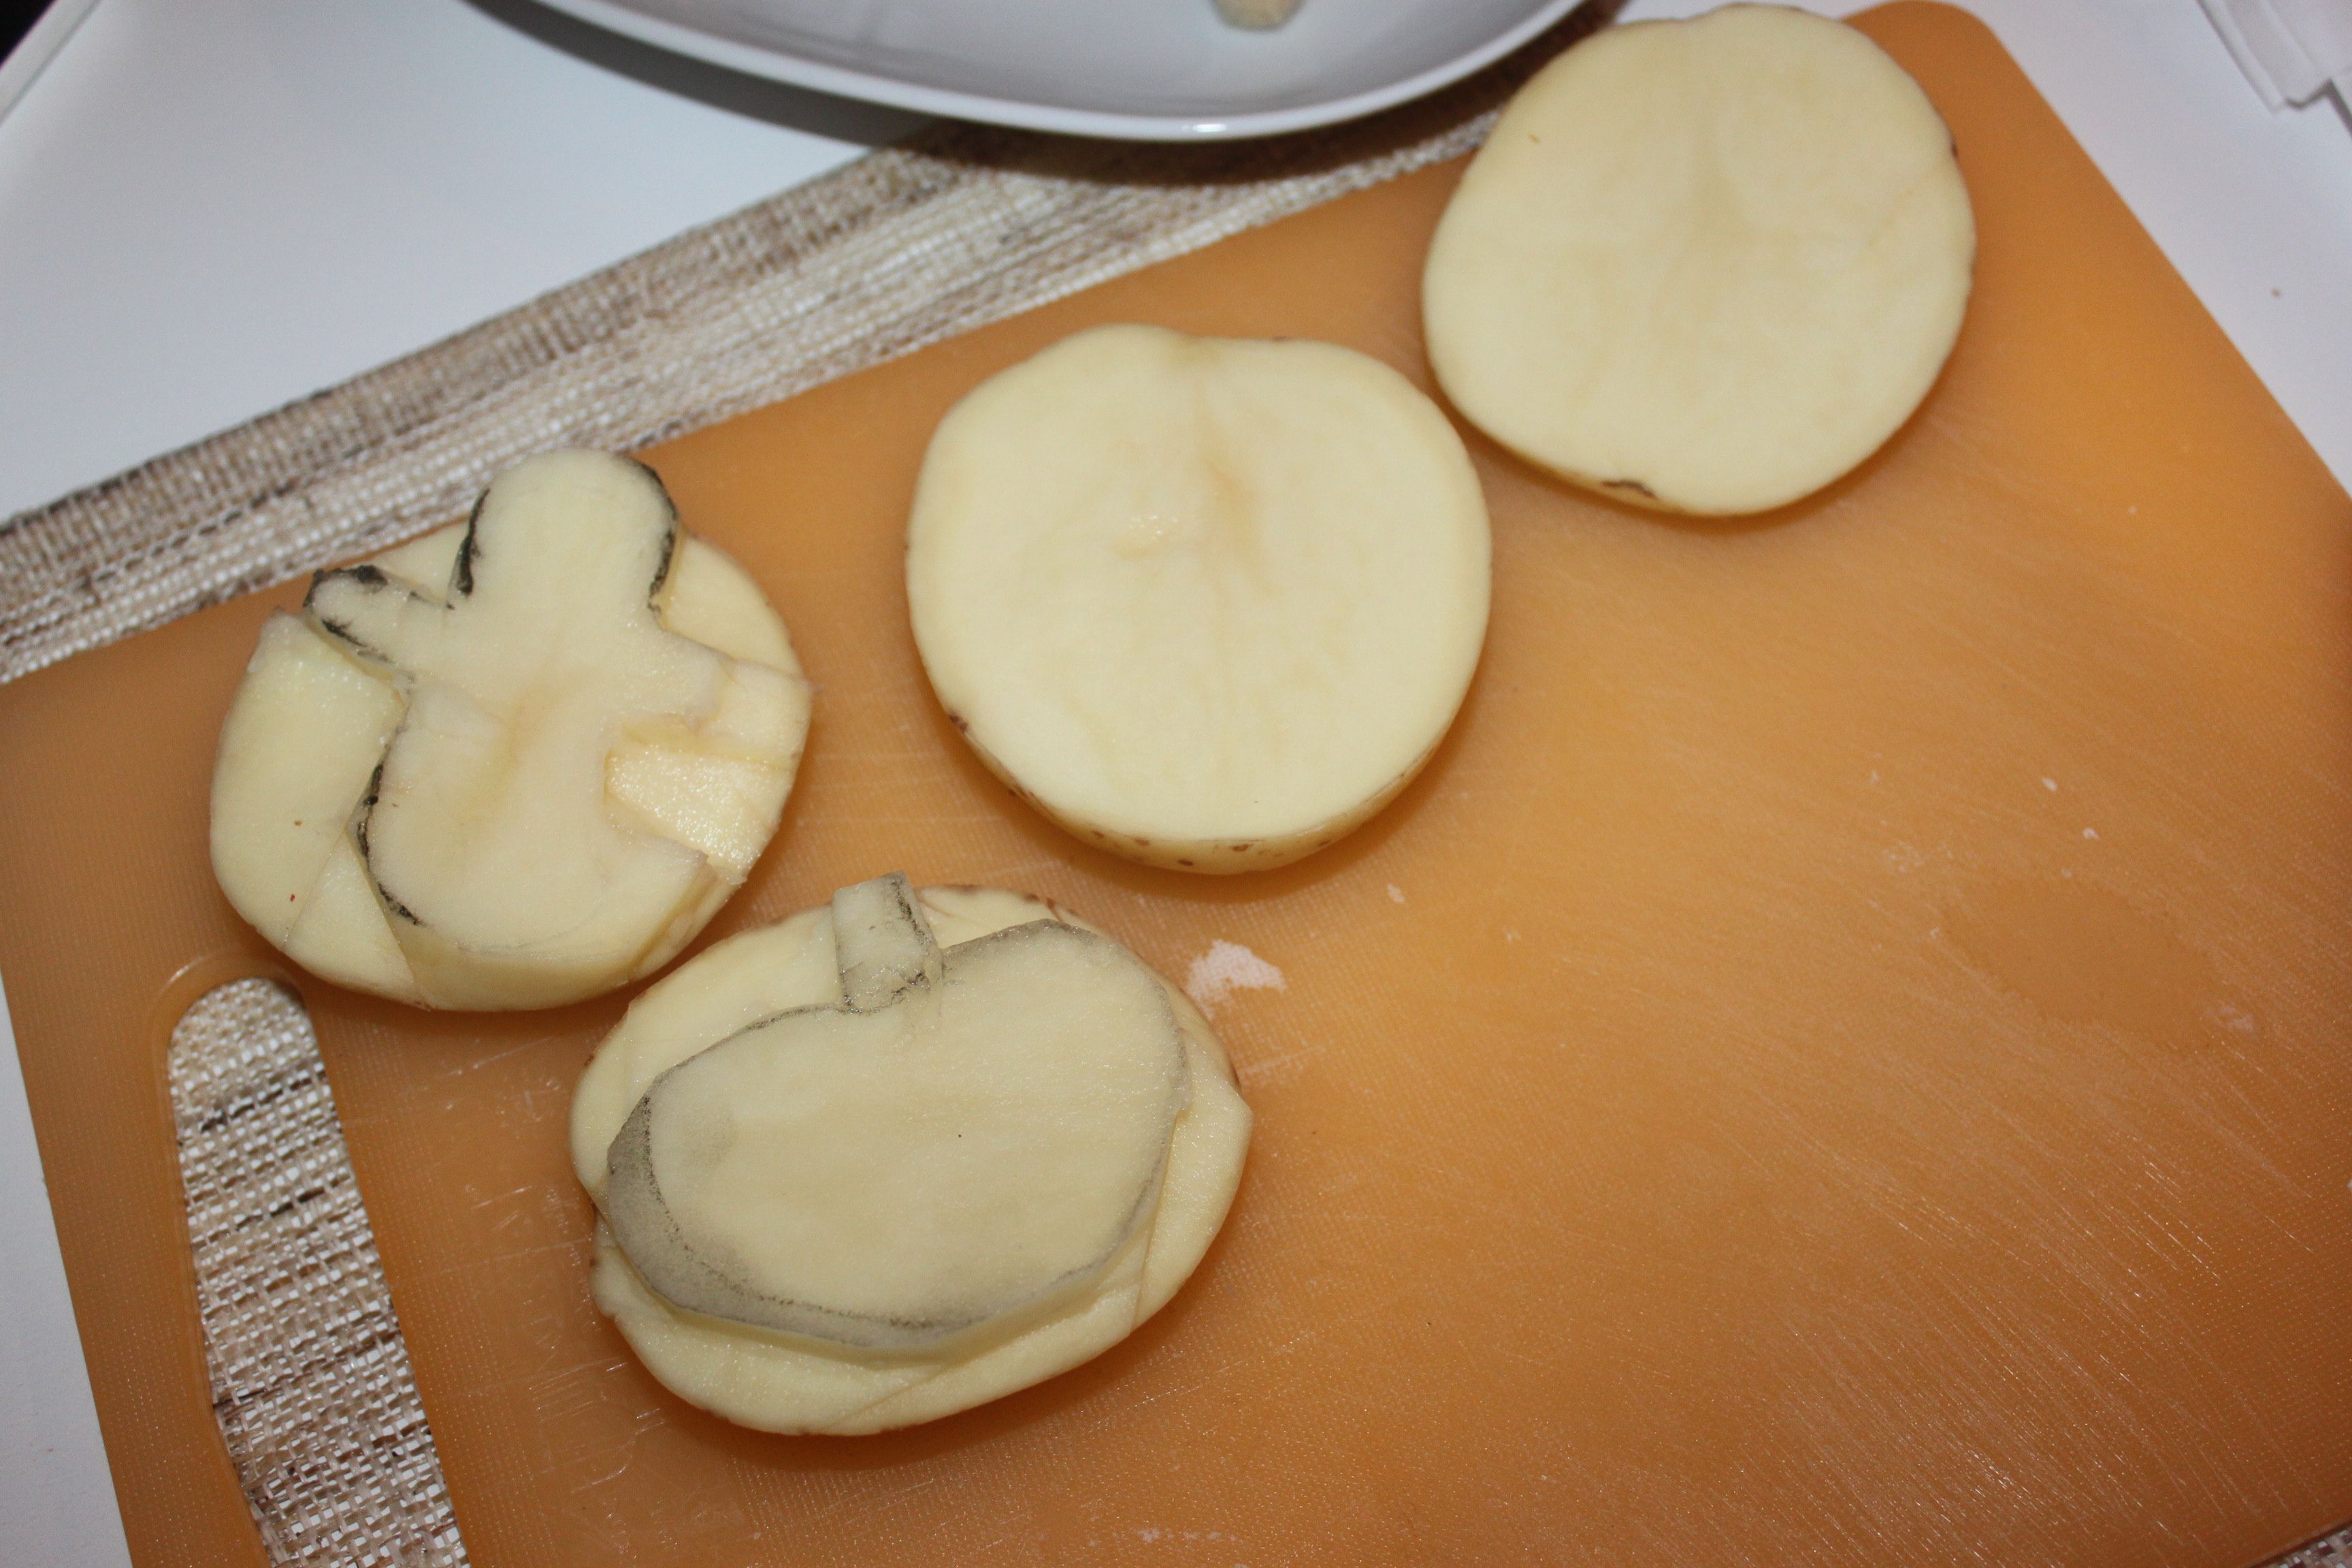 Put you pillowcase onto a flat (covered!) surface. Put paint onto your potato halves and stamp away to your heart's content.
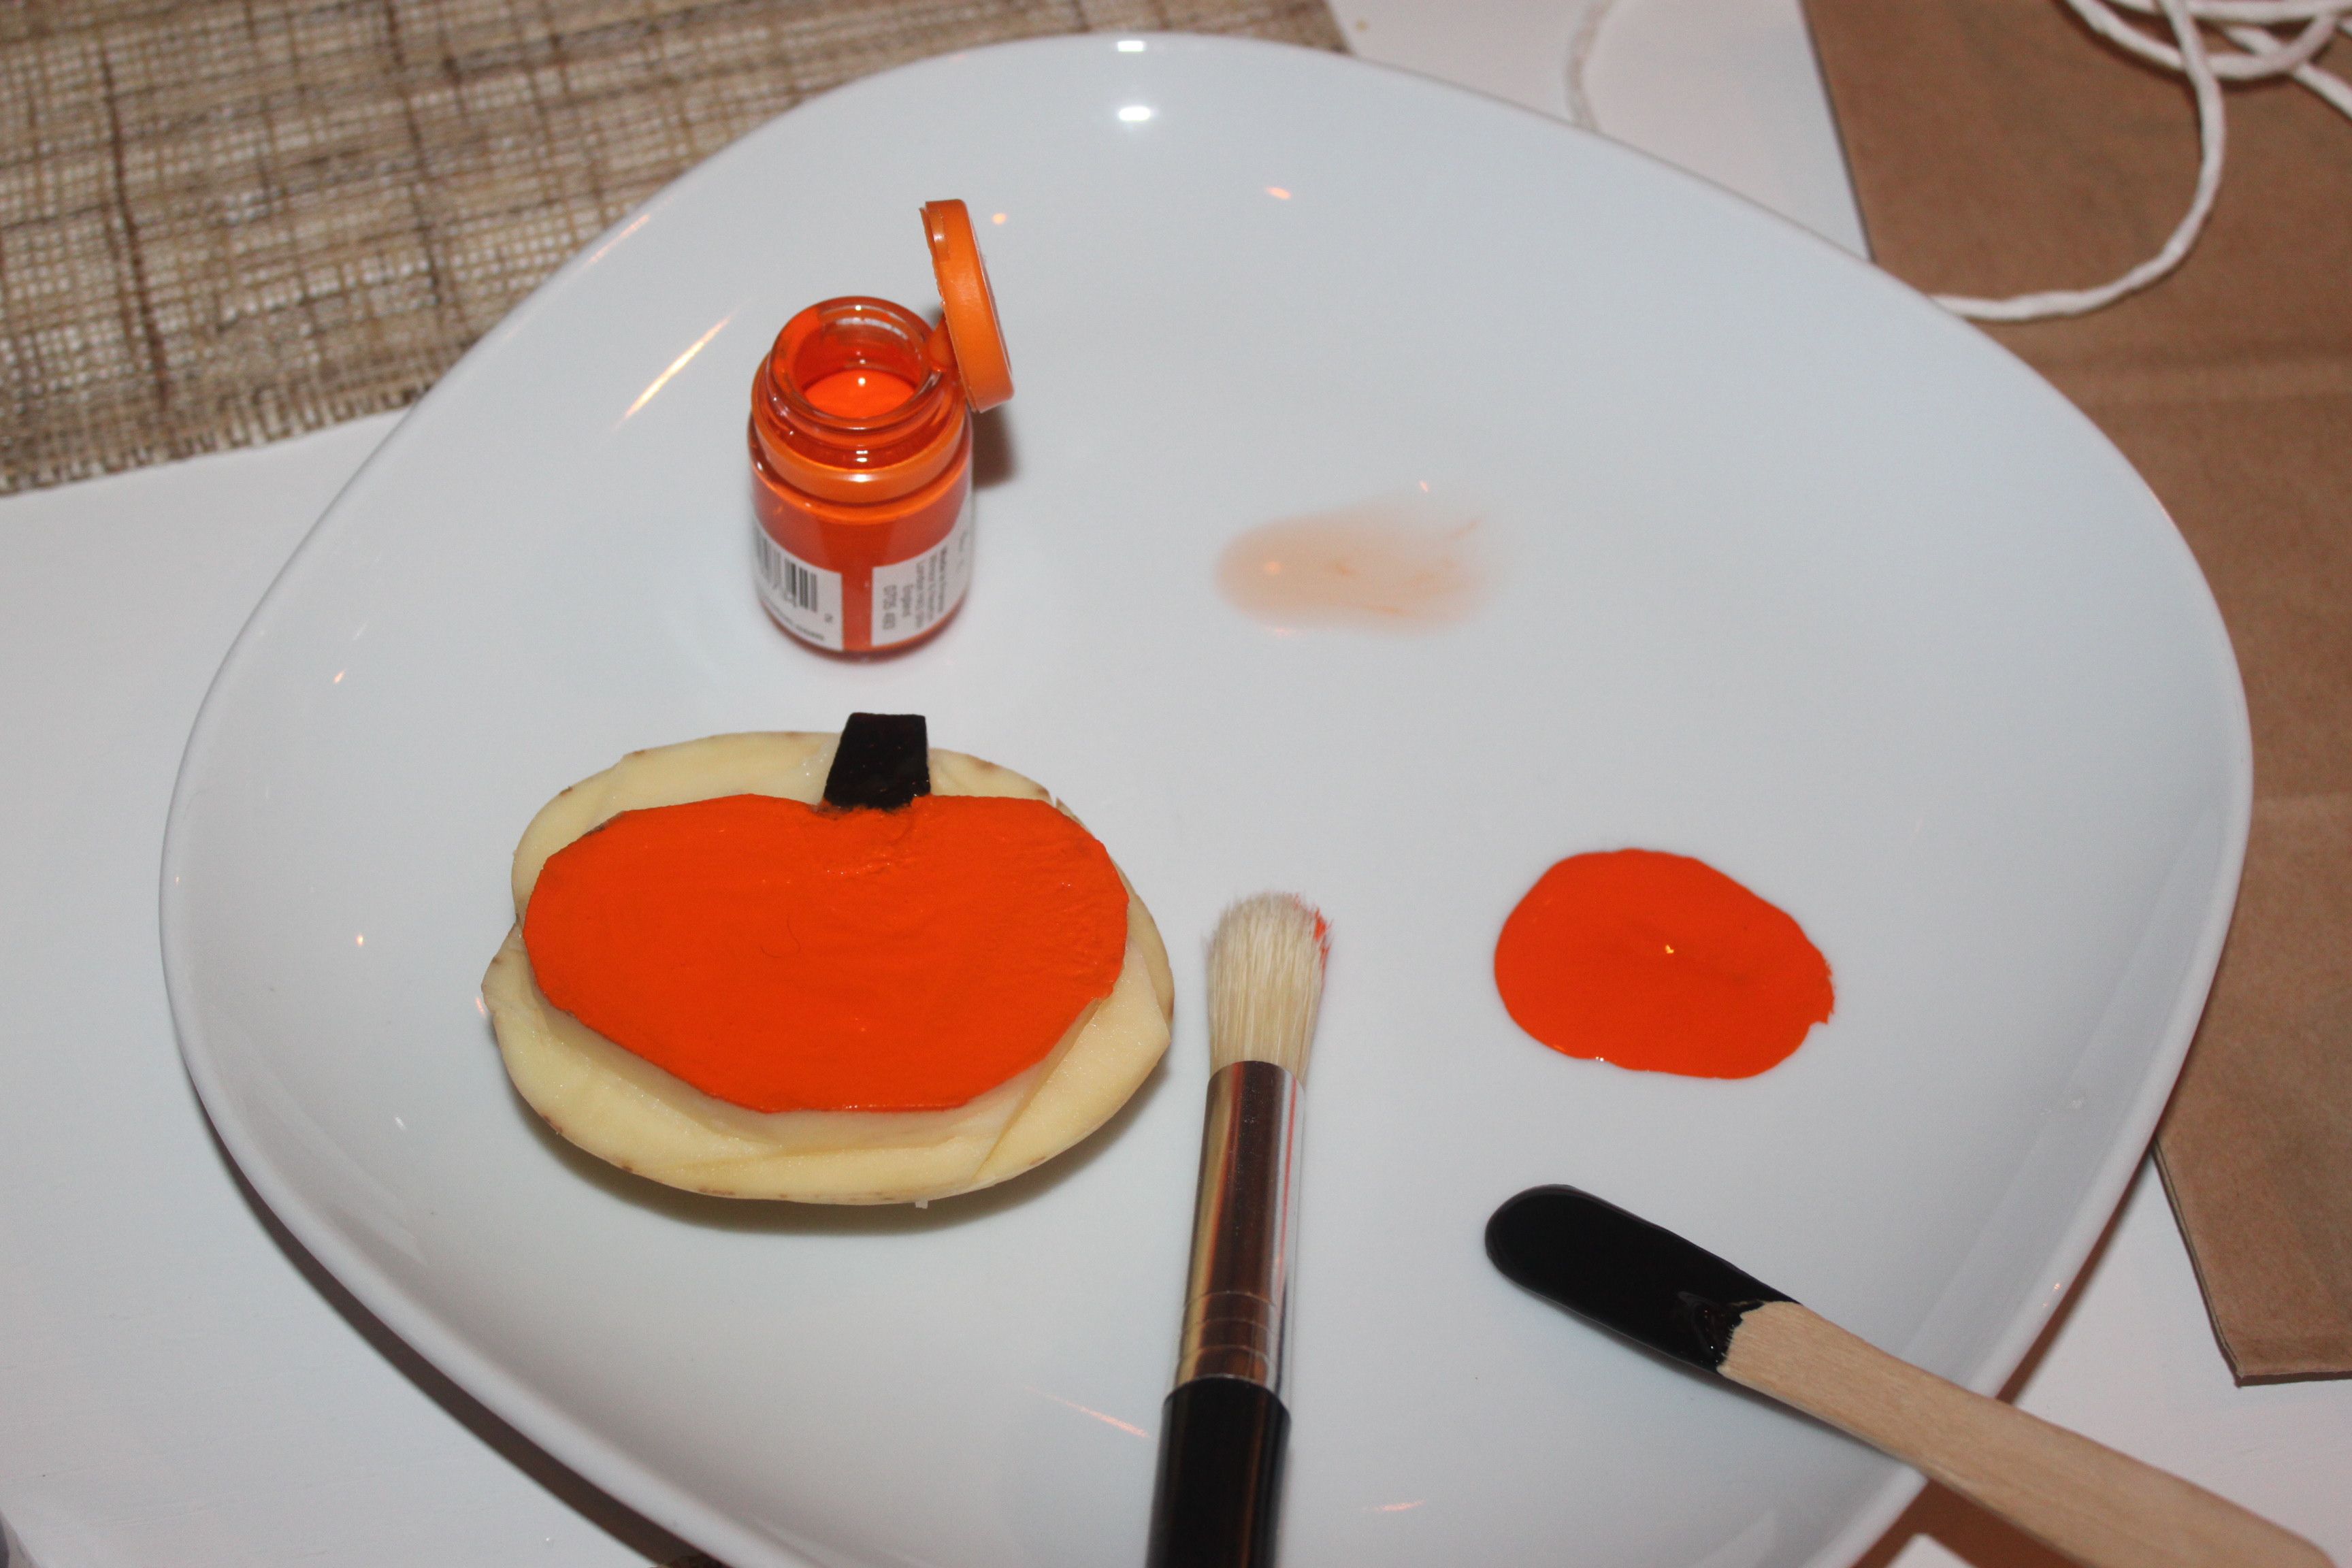
 Keep adding as many shapes as you would like onto your custom made trick-or-treat bag (you might have to reign in some over-eager kids at this bit).
 When the paint is somewhat dry, fold the top of the pillowcase over and glue, so that you have created room at the top of your "bag" where you can thread your string in. Cut a small hole in one corner and thread your string all the way through, so that you are left with two ends out that you can tighten and close the bag.
 Now all that is left to do is wait for Halloween night and trick-or-treat time! That; and trying to chose between our pumpkin or ghost design for the night, that is. Decisions!
Explore more on these topics: